After a long while, my A500 finally decided what it wants to be  Here are a few pics to celebrate screwing the case back on.
It's a frankestein creature, assembled from individually obtained parts, but in the end it's still a beautiful Amiga 500 and takes me back to summer 1989, when I first got one. :inlove:
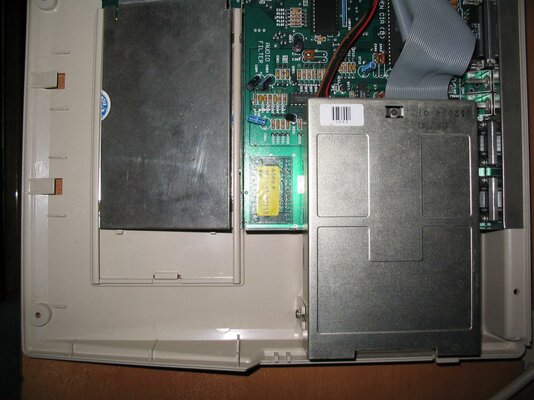
Photos 1 & 2: Left & right half. Typical rev6A. I particularly like this unusual green PCB.
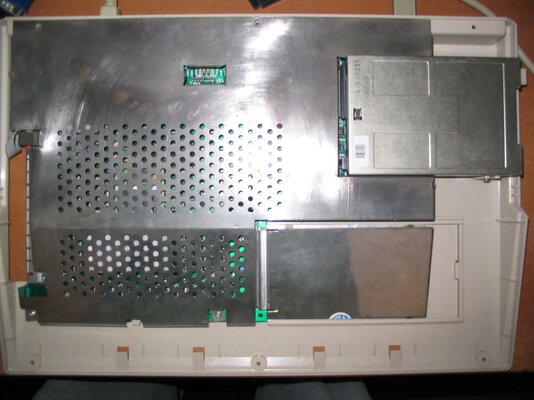
Photo 3: Indivision ECS FTW! Super Denise is also installed just the the heck of it. The ground wire is screwed underneath, at the top screwhole of the sideport's metal cover.
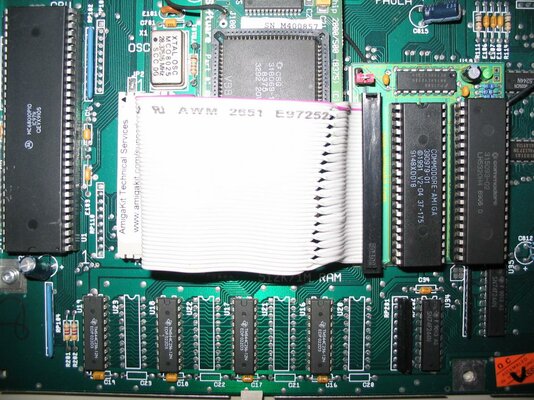
Photo 4: MC68010 and Amigakit's ROM autoswitcher with 1.3 (default) and 2.04 ROMs. Also DKB's minimegachip with a suitable PAL Agnus because we don't like it the A500+ way! (just kidding)
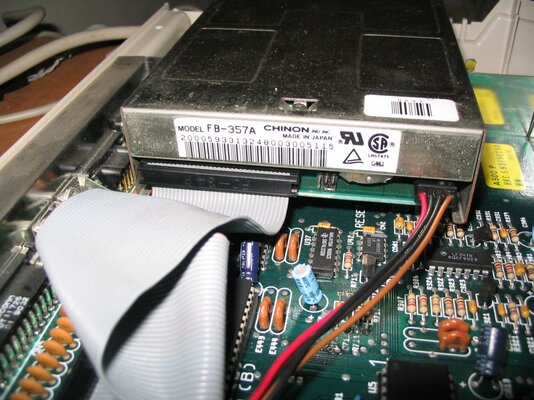
Photo 5: Chinon FB-357A for some high-density-ness under 2.04. Metal chassis and eject button transplanted from an A500 FB-354 and stickers transfered
Photo 6: Shields up! A proper lady like the A500 should always wear her undergarments . Hence the choice of a shielded matching rev 6C A501 trapdoor expansion, thankfully in pristine condition - battery replaced with CR2032 + diode.
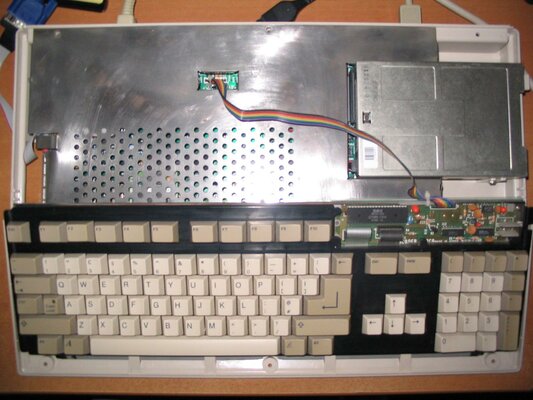
Photo 7: Keyboard in place. This is the venerable Samsung model, with a very light, "airy", positive response, probably due to the elongated and narrow springs it uses vs the shorter, wider ones used in the Mitsumis.
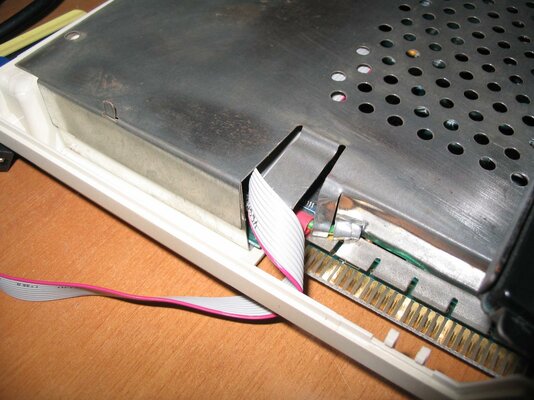
Photo 8: A closer look at the slight modification to the upper shield to accomodate the Indivision ECS. The screw-flap was lifted and some slices were made to go around the grouding wire. No bits were cut-off, though")
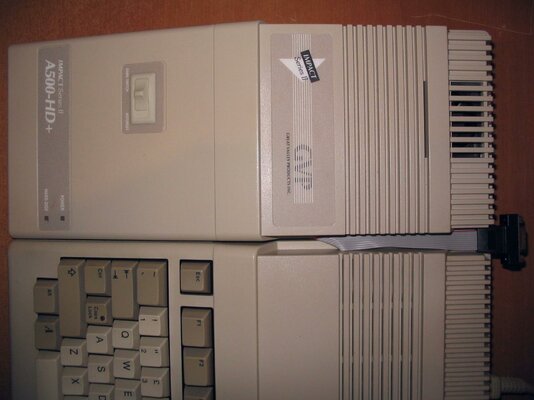
The Indivision cable is routed outside through the sideport, a GVP hard drive unit can still be attached as it leaves some clearance at the top of the sideport where the cable can be squeezed. It may not be the prettiest solution, but the flat cable will be mostly invisible between the GVP and the A500, and saves hacking the case to install the Indy VGA port.
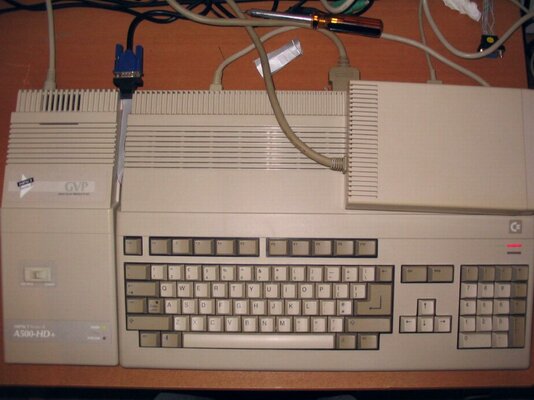
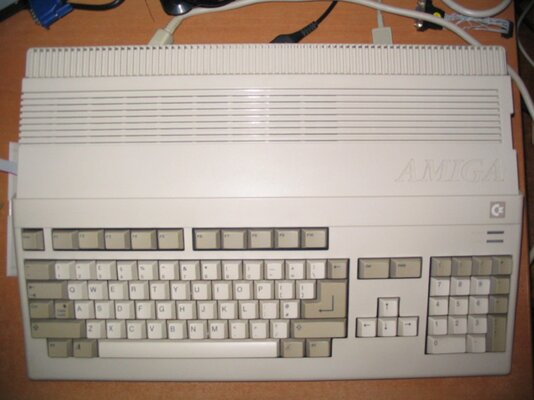
Photo 9: Finally, everything screwed back together for the first time in more than 2 years!
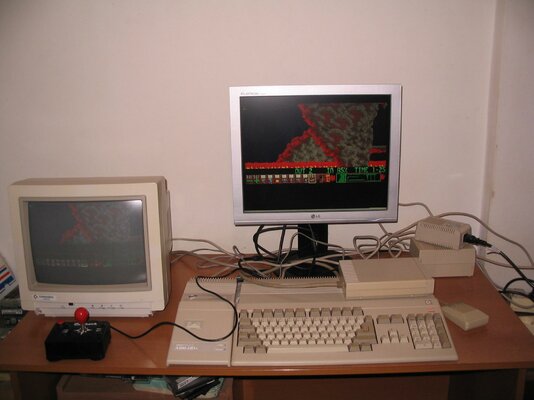
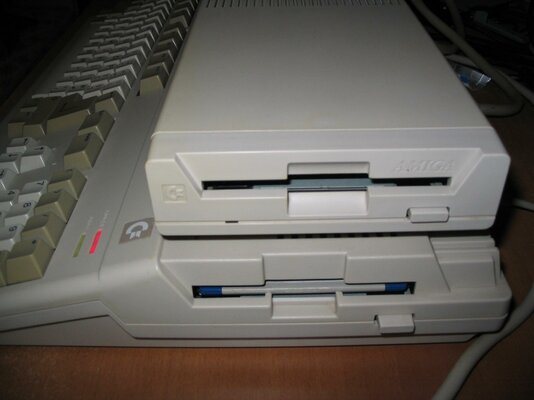
Photo 10: The mandatory A1011 external floppy drive. I'm in favour of these units over the slimline ones. Apart from the matching aesthetics, these use both +5V and +12V so the load on the +5V line isn't as high as with the +5V-only slim models, which can cause noticeable screen dimming on an A500 when the stepper motor is used.
Here are a few pics to celebrate screwing the case back on.It's a frankestein creature, assembled from individually obtained parts, but in the end it's still a beautiful Amiga 500 and takes me back to summer 1989, when I first got one. :inlove:
Photos 1 & 2: Left & right half. Typical rev6A. I particularly like this unusual green PCB.
Photo 3: Indivision ECS FTW! Super Denise is also installed just the the heck of it. The ground wire is screwed underneath, at the top screwhole of the sideport's metal cover.
Photo 4: MC68010 and Amigakit's ROM autoswitcher with 1.3 (default) and 2.04 ROMs. Also DKB's minimegachip with a suitable PAL Agnus because we don't like it the A500+ way! (just kidding)
Photo 5: Chinon FB-357A for some high-density-ness under 2.04. Metal chassis and eject button transplanted from an A500 FB-354 and stickers transfered
Photo 6: Shields up! A proper lady like the A500 should always wear her undergarments
. Hence the choice of a shielded matching rev 6C A501 trapdoor expansion, thankfully in pristine condition - battery replaced with CR2032 + diode.Photo 7: Keyboard in place. This is the venerable Samsung model, with a very light, "airy", positive response, probably due to the elongated and narrow springs it uses vs the shorter, wider ones used in the Mitsumis.
Photo 8: A closer look at the slight modification to the upper shield to accomodate the Indivision ECS. The screw-flap was lifted and some slices were made to go around the grouding wire. No bits were cut-off, though
The Indivision cable is routed outside through the sideport, a GVP hard drive unit can still be attached as it leaves some clearance at the top of the sideport where the cable can be squeezed. It may not be the prettiest solution, but the flat cable will be mostly invisible between the GVP and the A500, and saves hacking the case to install the Indy VGA port.
Photo 9: Finally, everything screwed back together for the first time in more than 2 years!
Photo 10: The mandatory A1011 external floppy drive. I'm in favour of these units over the slimline ones. Apart from the matching aesthetics, these use both +5V and +12V so the load on the +5V line isn't as high as with the +5V-only slim models, which can cause noticeable screen dimming on an A500 when the stepper motor is used.
Attachments
-
 IMG_0001.jpg206.2 KB · Views: 16
 -
 IMG_0002.jpg193.4 KB · Views: 13
 -
 IMG_0003.jpg209.2 KB · Views: 19
 -
 IMG_0004.jpg210.6 KB · Views: 13
 -
 IMG_0005.jpg202.4 KB · Views: 10
 -
 IMG_0006.jpg176.9 KB · Views: 12
 -
 IMG_0007.jpg182.8 KB · Views: 21
 -
 IMG_0008.jpg193.8 KB · Views: 18
 -
 IMG_0010.jpg165.7 KB · Views: 19
 -
 IMG_0009.jpg186.3 KB · Views: 29
")