Recently I have bought some games that where listed as testet/not tested and when testing them myself, they don't work 
Getting sick of this, I decided to try and clean them myself.
This is how I did, and it should be regarded as a last opportunity! (The disk is unsalvageable and dead anyway, so why not try this) Also this is primarily for dirty disks, not for pretty looking ones with read/write errors.
I have now tried with 5 disks, and 4 works perfect now")
1. step:
(Not always necessary!: Take off the metal cover and spring. Push it back, and gently pull it out while sliding it forward. Putting it back on is a bit more tricky, but easy enough. First insert the spring in the corner, insert the middle of the spring a little into the disk and leave the other end out. Press down on the edge of the disk to hold the spring, and connect the hatch to the metal cover. Gently pull i back and the clip should get in place.)
Carefully split the floppy from the top side. Use your fingernail or small screwdriver, and swipe it around the 2 top corners where the two sides are connected. The two small connections will loosen/break but that doesn't matter much. You can always glue them back together or just use the sticker to hold them together.
ONLY the top should be split as it will be enough to get the disk out.

2. step:
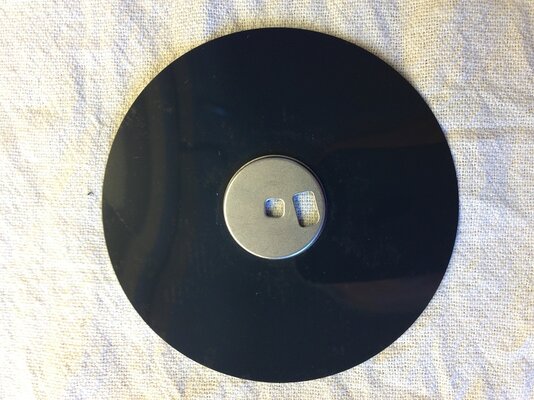
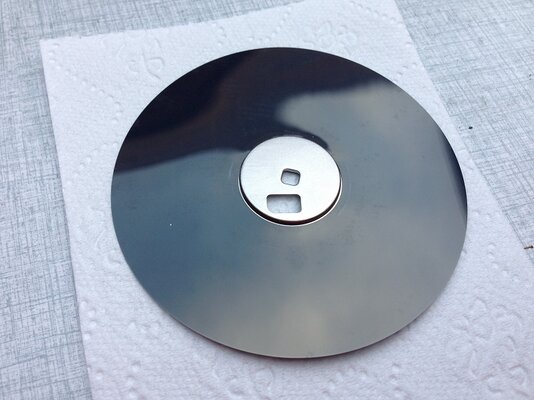
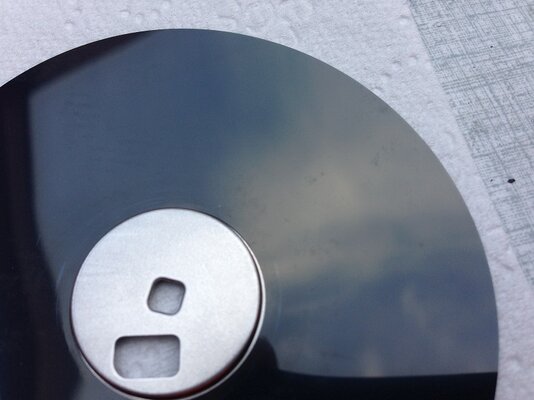
Place the disk on some tissue paper, or even better one of those cloths for cleaning TV screens, and inspect the damage (dirt & mold).

This one was quite dirty on both sides! Camera has a hard time capturing just how dirty!
3. step:
Use a cue tip with cold (or lukewarm) water to carefully clean the disk. Do not apply pressure, the plastic inside the cuetip will scratch! - Only gently rub on the dirty spots. Be careful not to bend the disk! Slow and gentle is the key! Some of the dirt may not come off but nothing to do about that. Most of it will! Do not let the water sit for too long, it will leave marks.
Added by rkauer , you can use soapy water for a better result with the mold. Just be sure to wash of the soapy water afterwards.

4. step:
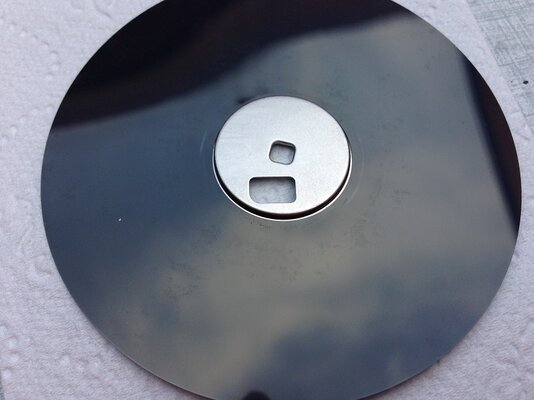
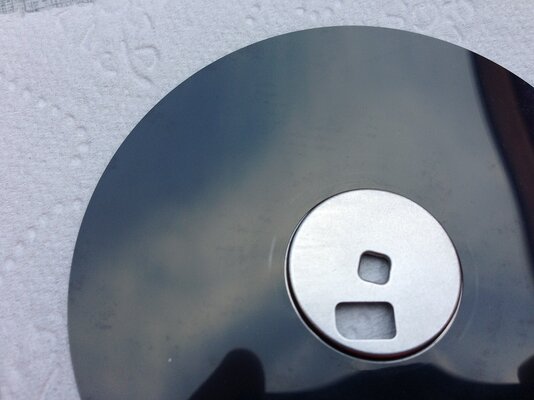
Let the disk dry and inspect the surface to see what a good job you have done
Carefully place the disk back i the plastic case and try it out.
- If you have a can of compressed air, use it to blow out any dust from the 2 pads inside the disk.

This game was listed as "Not tested" and that would normally make me instantly loose interest, but this was a very good price for a rare game, and now I got it working so that's just AWESOME!
Here's a video:
[m]http://www.youtube.com/watch?v=yqv89p4Io50[/m]
Good luck!
Getting sick of this, I decided to try and clean them myself.
This is how I did, and it should be regarded as a last opportunity! (The disk is unsalvageable and dead anyway, so why not try this) Also this is primarily for dirty disks, not for pretty looking ones with read/write errors.
I have now tried with 5 disks, and 4 works perfect now
1. step:
(Not always necessary!: Take off the metal cover and spring. Push it back, and gently pull it out while sliding it forward. Putting it back on is a bit more tricky, but easy enough. First insert the spring in the corner, insert the middle of the spring a little into the disk and leave the other end out. Press down on the edge of the disk to hold the spring, and connect the hatch to the metal cover. Gently pull i back and the clip should get in place.)
Carefully split the floppy from the top side. Use your fingernail or small screwdriver, and swipe it around the 2 top corners where the two sides are connected. The two small connections will loosen/break but that doesn't matter much. You can always glue them back together or just use the sticker to hold them together.
ONLY the top should be split as it will be enough to get the disk out.
2. step:
Place the disk on some tissue paper, or even better one of those cloths for cleaning TV screens, and inspect the damage (dirt & mold).
This one was quite dirty on both sides! Camera has a hard time capturing just how dirty!
3. step:
Use a cue tip with cold (or lukewarm) water to carefully clean the disk. Do not apply pressure, the plastic inside the cuetip will scratch! - Only gently rub on the dirty spots. Be careful not to bend the disk! Slow and gentle is the key! Some of the dirt may not come off but nothing to do about that. Most of it will! Do not let the water sit for too long, it will leave marks.
Added by rkauer , you can use soapy water for a better result with the mold. Just be sure to wash of the soapy water afterwards.
4. step:
Let the disk dry and inspect the surface to see what a good job you have done
Carefully place the disk back i the plastic case and try it out.
- If you have a can of compressed air, use it to blow out any dust from the 2 pads inside the disk.
This game was listed as "Not tested" and that would normally make me instantly loose interest, but this was a very good price for a rare game, and now I got it working so that's just AWESOME!
Here's a video:
[m]http://www.youtube.com/watch?v=yqv89p4Io50[/m]
Good luck!
Last edited:

 !
!