I was looking at one of these from Monster Arcade sticks and decided to build my own since I had a spare USB arcade stick I built many years ago and wasn't using (from an old Pi project.)
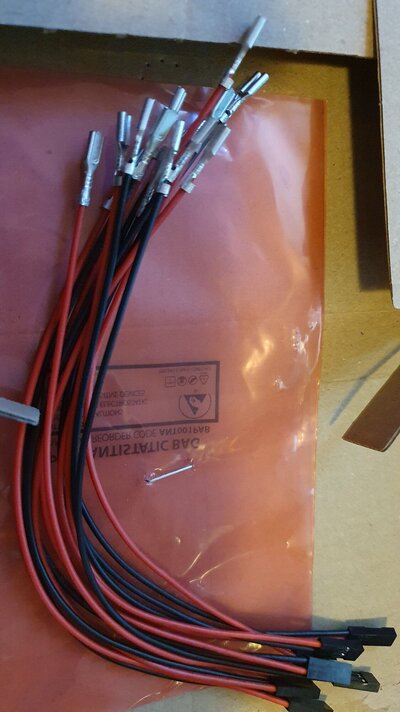
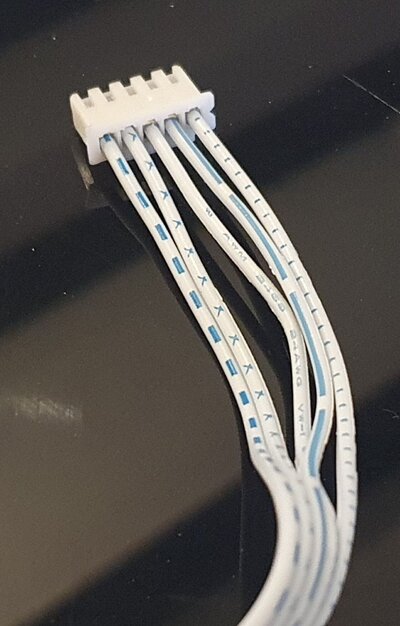
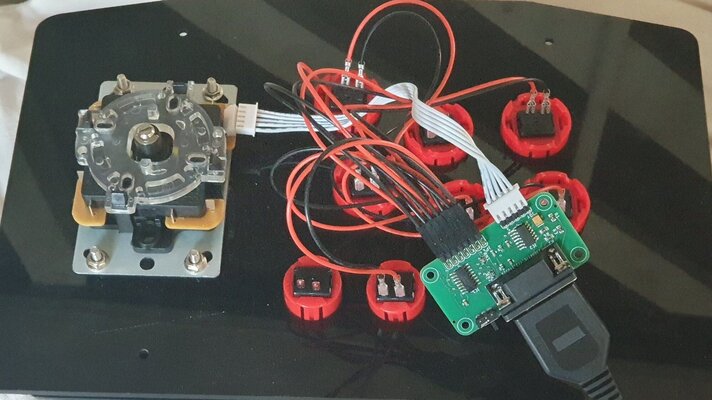
They sell the control board separately so it was just a case of wiring it up to my existing buttons and joystick. I had to get the dupont to spade connectors made up as well since the standard arcade connectors didn't fit side by side on the pins and also reverse the left/right on the joystick loom when setting up, otherwise very simple to do.
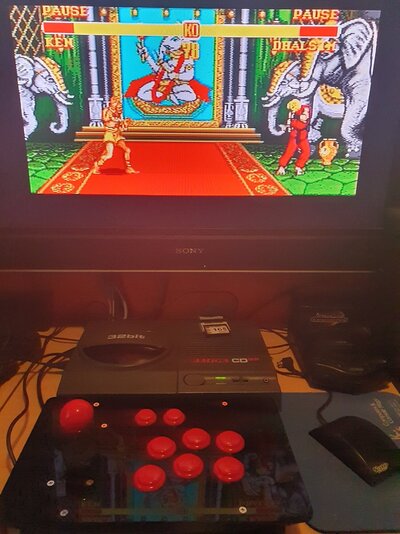
I tested with Super Street Fighter 2 and confirmed all 6 buttons working and correctly mapped!
Very pleased with this and a lot cheaper than buying ready made, all I need now is some artwork for the top. I might also swap out 4 face buttons for coloured ones too, I have these in a box somewhere I think from when I was building my Neo Geo Bartop!
I had a few questions and Ian at Monster Joysticks was really helpful and quick to respond so consider this also a positive review!
They sell the control board separately so it was just a case of wiring it up to my existing buttons and joystick. I had to get the dupont to spade connectors made up as well since the standard arcade connectors didn't fit side by side on the pins and also reverse the left/right on the joystick loom when setting up, otherwise very simple to do.
I tested with Super Street Fighter 2 and confirmed all 6 buttons working and correctly mapped!
Very pleased with this and a lot cheaper than buying ready made, all I need now is some artwork for the top. I might also swap out 4 face buttons for coloured ones too, I have these in a box somewhere I think from when I was building my Neo Geo Bartop!
I had a few questions and Ian at Monster Joysticks was really helpful and quick to respond so consider this also a positive review!