My DIY joystick

  • Thread starter Thread starter protek
  • Start date Start date
  • Replies Replies 17
  • Views Views 4843

protek

"Takai desu ne." -"Jinsei da."
Joined
Feb 17, 2008
Posts
3,999
Country
Finland
Region
Oulu, Pohjois-Pohjanmaa
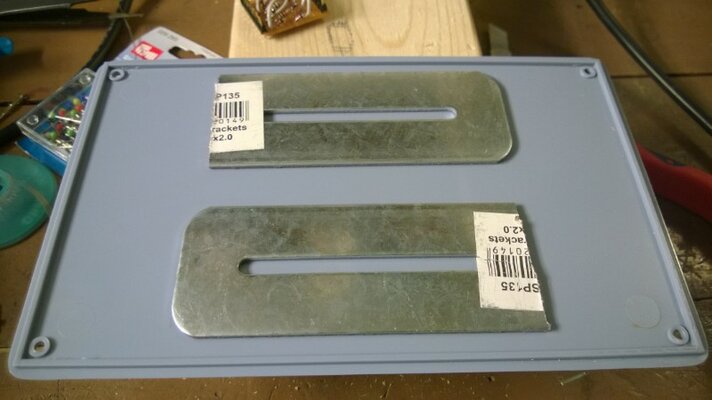
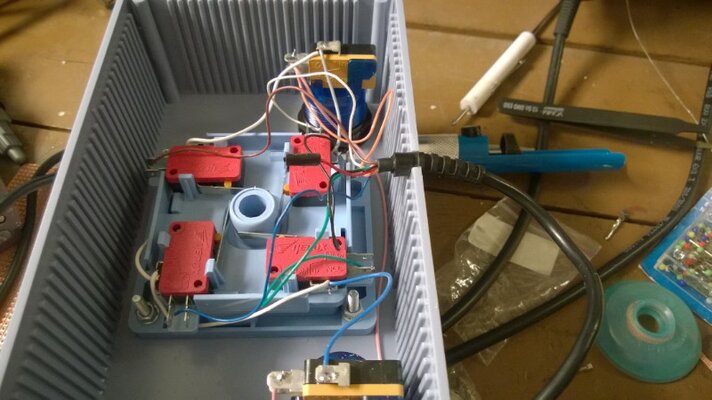
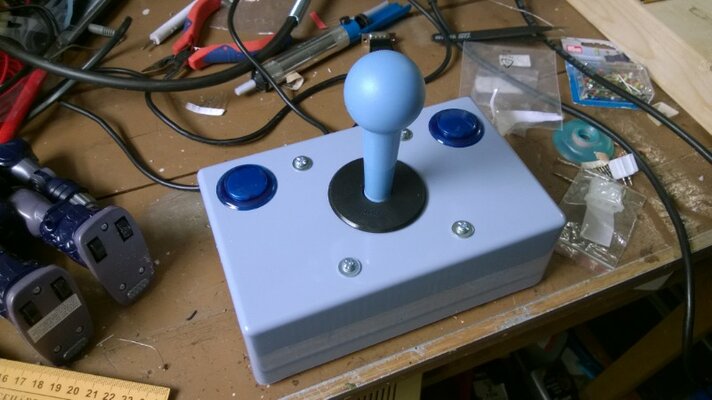
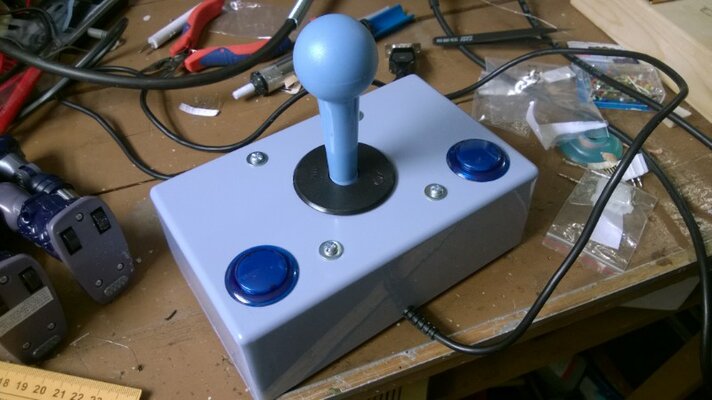
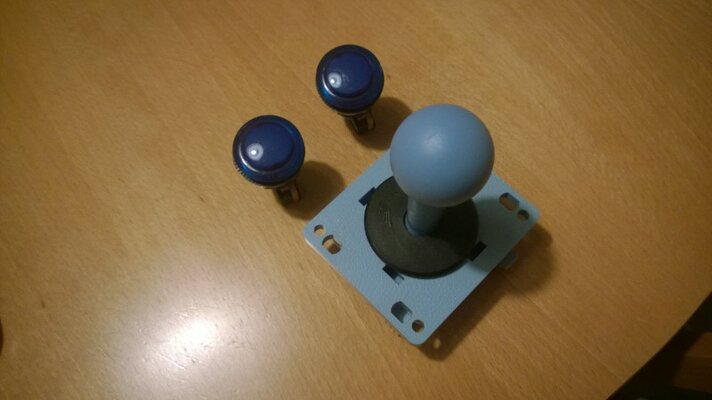
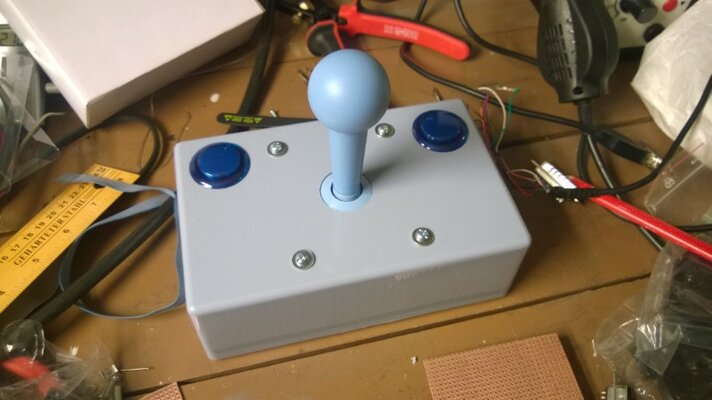
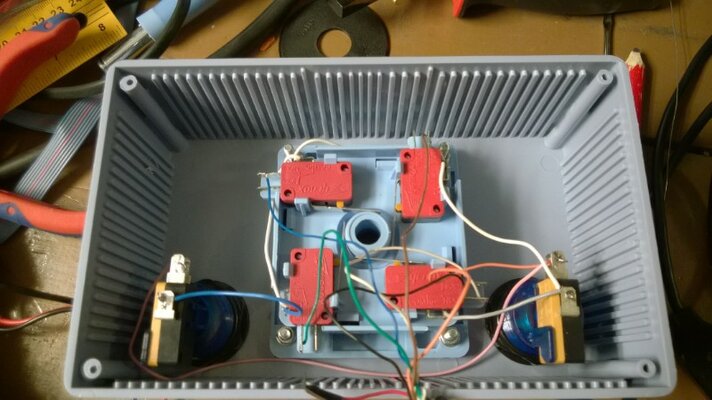
Thought I'd share a few pics of my Atari compatible joystick, work in progress. I bought an arcade joystick and buttons from a local electronics store. The cable has been recycled from an old Quickshot. Otherwise new parts. Still need to solder the wires and do some finishing touches and it's ready to play.
 

Attachments

  • Edited_ImageEasyImageEditor_20140306_23_jpg.jpg
    Edited_ImageEasyImageEditor_20140306_23_jpg.jpg
    39.1 KB · Views: 2
  • Edited_ImageEasyImageEditor_20140315_28_jpg.jpg
    Edited_ImageEasyImageEditor_20140315_28_jpg.jpg
    52.8 KB · Views: 4
Last edited:
nice work mate.

is the box one of those project boxes about 40-50mm deep?
 
Last edited:
Thanks guys!
nice work mate.

is the box one of those project boxes about 40-50mm deep?

Yes it is. Can't remember the actual dimensions, though.
 
Last edited:
I really dig projects like this!

You just know that the thing will last for ever, even if a switch goes down. Takes minutes to replace it :D
 
If it's too light, pour a bit of cement in the base. :thumbsup:
 
Last edited by a moderator:
I often wish something like this could be adapted to the ps3 or ps4!

The reason?

Well my son does what most teenagers do at his age and gets game rage, then the joypad ends up hitting the wall and busting :mad:

Something indestructable would certainly help, but then I would have to deal with holes in the wall or something lol.
 
my son does what most teenagers do at his age and gets game rage, then the joypad ends up hitting the wall and busting :mad:

I never understood this. I never did it. I hope my kids never get it. I don't what I'd do if they did.

...video them and put it up on Youtube :lol:

(Just kidding)
 
Last edited by a moderator:
Bit of update.

I soldered the wires of the cable in place. Only thing left is to carve a hole for the cable and I can try it out. :)
 

Attachments

  • Edited_ImageEasyImageEditor_20140319_30_jpg.jpg
    Edited_ImageEasyImageEditor_20140319_30_jpg.jpg
    68.2 KB · Views: 3
I deliberately left the autofire out even though I still have the option to do it in the future as the recycled cable has the +5V connected. For now it's insulated.

Have to find something suitable for extra weight on the bottom.
 
Last edited:
I deliberately left the autofire out even though I still have the option to do it in the future as the recycled cable has the +5V connected. For now it's insulated.

Have to find something suitable for extra weight on the bottom.


suction cups from the old joystick the cable came off?

or a few layers of plate steel laminated together and fixed in the bottom.and some rubber stick on feet.

Option 2 is what I'm planning to do. ;)
 
Xarcade has a way to use one of their joysticks with a ps3 or 4.

See here:

http://www.xgaming.com/store/category/x-arcade-adapters/


I often wish something like this could be adapted to the ps3 or ps4!

The reason?

Well my son does what most teenagers do at his age and gets game rage, then the joypad ends up hitting the wall and busting :mad:

Something indestructable would certainly help, but then I would have to deal with holes in the wall or something lol.
 
All done! :)

I had pieces of steel lying around so I fastened them to the bottom with two sided tape. I carved an opening for the cable and tightened everything up. Quick assembly and silicone pads into bottom.

The stick feels light to use. I haven't tried it in a computer but I bet I'll probably be improving in a game or two. And I always have the option to change to stiffer switches.
 

Attachments

  • Edited_ImageEasyImageEditor_20140321_31_jpg.jpg
    Edited_ImageEasyImageEditor_20140321_31_jpg.jpg
    46.3 KB · Views: 2
  • Edited_ImageEasyImageEditor_20140321_32_jpg.jpg
    Edited_ImageEasyImageEditor_20140321_32_jpg.jpg
    66.2 KB · Views: 1
  • Edited_ImageEasyImageEditor_20140321_33_jpg.jpg
    Edited_ImageEasyImageEditor_20140321_33_jpg.jpg
    60.7 KB · Views: 2
  • Edited_ImageEasyImageEditor_20140321_34_jpg.jpg
    Edited_ImageEasyImageEditor_20140321_34_jpg.jpg
    60.5 KB · Views: 3
Last edited:
Back
Top Bottom