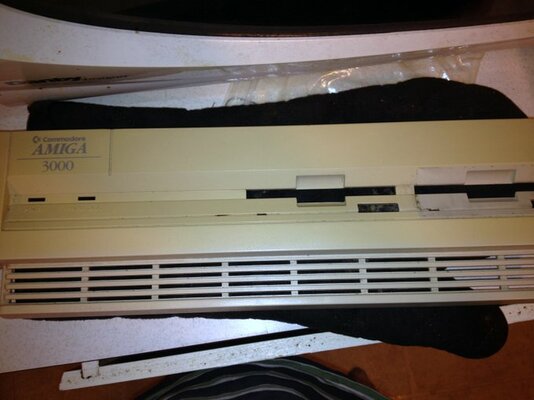
My FrankenA3K- Daily log

  • Thread starter Thread starter quarkx
  • Start date Start date
  • Replies Replies 34
  • Views Views 7908
Well, this thread is far from over, I basically have to start from scratch again. Baby steps as they say. I am sure there will be much more challenges ahead. I am not looking forward to putting the ZIP Ram BACK in this board. I just wish I could figure out the Video problem with the one board, But it probably boils to (simply) changing the sockets for Paula and Denise. A bit beyond my soldering skills, and they guy I know might take months before can even look at it.
On the other hand, we all know this is a nice "Base", and the person with the right skills and time could take this board, tear it down and re-furbish it into a nice unit. At the worst, it is a good donor board for parts.
 
Day 7

So today, we go back to square one and tear down the 2 units.
The first thing I notice is that the non-working motherboard has just pins for the SCSI ribbon cable connector and the floppy drive connector. The “good” unit has proper connectors on them- possibly a later made board, or Commodore ran out that day.
I know, it's a non-issue, but I thought it was interesting.

Now we spend the time to remove all nuts and screws holding in both motherboards to each chassis, carefully bagging the screws for each up.

I then go to the parts closet, and pull out my last AmigaKit battery holder/hack. I am not looking forward to re-soldering and un-soldering this positive terminal hole. On the back, I am getting way to close to burning out a trace.
After about an hour, I gave up. This machine will not have a battery backed clock period. No matter what I do, this hole remains plugged with solder, and I refuse to rig up some half-baked solution for this.

Next we take about an hour to carefully remove and transfer the Zip Ram over. I ended up wreaking 3 more Zip chips, but slowly it gets done.

I then put the working motherboard (that's if I haven't screwed it up with my soldering) into the good chassis, and spend the next ten minutes mounting the motherboard back in. If you have never done it, the nuts at the back beside each port alone is a tedious, but necessary step
 

Attachments

  • day7-001.jpg
    day7-001.jpg
    53.3 KB · Views: 4
  • day7-003.jpg
    day7-003.jpg
    58.8 KB · Views: 3
  • day7-002.jpg
    day7-002.jpg
    62.8 KB · Views: 4
  • day7-004.jpg
    day7-004.jpg
    24.5 KB · Views: 6
  • day7-005.jpg
    day7-005.jpg
    75.6 KB · Views: 5
  • day7-006.jpg
    day7-006.jpg
    77.1 KB · Views: 6
  • day7-007.jpg
    day7-007.jpg
    34.2 KB · Views: 3
  • day7-008.jpg
    day7-008.jpg
    83.3 KB · Views: 3
Last edited:
Desoldering those battery terminals can be a real bugger ! I find if I don't set my iron to at least 480 degrees its almost impossible to remove the solder. I think the likely reason your having trouble is the ground pad sucking up so much heat...so if you can try a hotter iron and reflow solder back into the joint and try make sure the solder all the way through is molten then use your wick(I assume that's the method you are using?)
I would imagine if the solder isn't coming all out yet then you wouldn't have damaged the trace...because its acting like a big heatsink !
Alternatively why not be a bit tricky since 2 out of 3 holes are empty....hold the cell holder to the board and hold heat to the boards other side....if you melt the solder enough the battery holder will "fall" through the holes :-)
I've had the same frustration on some of the a1200s larger caps and found both solutions can work with persistance.
Good luck !
 
Good work thus far!

I have seen only one Amiga 3000, which came out of West Chester PA, that just had the pins. It was also a Rev 9/3. Interestingly that computer was an educational discount one...

Sometimes when I have a battery hole I can't easily solder, I use a very fine razor pen to poke through. You have to be very careful not to cut anything, but it works perfect every time...

For Zip chips I never have trouble anymore... Make sure you have plenty of light and a flashlight. Place the chip on the socket and then use the flashlight to look at every leg, and then push them in. Don't do alot of back and forth because you can bend over the chip easily...

I would pull all the chips and use circuit board cleaner extensively on the chips and the board. Once in a long while it fixes intermittent or strange problems....

Good luck!

Matt
 
Last edited:
I have re-soldered both sides of motherboard, Used both wick and a sucker. I even tried the old thumbtack trick (have a thumbtack underneth to try to poke through when heating) I didn't use an exacto knife, but brand new really pointy tweesers. I could get it drilled out, I know someone with that fine of drills, but I want to move one from this nightmare of a step. Otherwise it just wont get finished. Trust me, if I had my cable from AmigaKit already, I would be loading the OS in right now. Bad enough, I will be taking the next few days to (Ugh) clean and scrub the keyboard and front fascia by hand. I really hate the tedious work of cleaning Keyboards, but its got to get done.
 
Day 8,

So today, we are deviating away from the chassis, as we are still waiting for the floppy cable to come in from AmigaKit. Not much left, I can do without having all the cables to do my cable management. I did re-assemble what I could and turned it on to see if I cause any damages to the traces during my unsuccessful soldering. I even put in the 2 “S” clips for the daughter board. As far as I am concerned, this is ready to go except for cables and drives.

With that being said, I turn my attention to the keyboard. I will admit, I never really gave this keyboard any thought until now. I knew it was in a box and would get to it when the time was right.

At first glance, it looks like just a quick wipe down would be ok, but once I picked it up, I began to notice odd things. First the cord was long... I knew that one of these units was in some sort of tower conversion, but this cord even looked long for that. I get the old measuring tape, and its 6 feet long coiled up, so it must stretch 8 to10 feet! I have a bunch of “parts” keyboards, so I will defiantly be replacing it with a normal length cord.

The second thing I notice right of the bat, is all the letter keys have stickers covering them, a lot or half peeled off and look terrible, so I am thinking that this could possibly be a “non-US” layout, converted to US QWERTY by stickers. But as I peel the obvious ones off, it seems this is indeed a US keyboard.

Next, I flip the keyboard over to find out that this is not a Commodore Keyboard, but an Amiga Technologies. I must admit, as far as I know, AT did not make A3000 keyboards, but A4000 ones for the A4000 tower. I am thinking this is one of those, but a long 3000 cable plugged in on the end. Or it also could be old stock they bought from Commodore and put their own label on it.

I remove the 6 screws and pop the keyboard chassis out. There is no rust, but a bit of what I can only gather is pop sticking the top shell to the chassis. I squirt some Windex in there and let it soak, and the chassis slides off.

I then grab my screw driver and start popping keys off. This one has real springs, not those cheap rubber “springs” in most of the A2000 keyboards, but you could use them here no problem.
Once the keys start coming off, its rather apparent that this is filthy. I could never in good conscious had sold this, knowing it was this dirty.

I fill up a plastic bowl with Windex, so I can let the keys soak overnight. Hopefully this will soften the stickers up for easy removal. Once all the keys are popped, I decide to call it a night for this. Tomorrow, I will begin the tedious task of not only scrubbing the keys but trying to remove the glue from the stickers.
 

Attachments

  • day8-001.jpg
    day8-001.jpg
    70.7 KB · Views: 5
  • day8-002.jpg
    day8-002.jpg
    63.2 KB · Views: 3
  • day8-003.jpg
    day8-003.jpg
    30.6 KB · Views: 6
  • day8-004.jpg
    day8-004.jpg
    47.5 KB · Views: 5
  • day8-005.jpg
    day8-005.jpg
    51.9 KB · Views: 3
  • day8-006.jpg
    day8-006.jpg
    39.2 KB · Views: 3
  • day8-007.jpg
    day8-007.jpg
    34.3 KB · Views: 4
  • day8-008.jpg
    day8-008.jpg
    35.5 KB · Views: 3
  • day8-009.jpg
    day8-009.jpg
    50.3 KB · Views: 4
  • day8-010.jpg
    day8-010.jpg
    49.3 KB · Views: 4
more picture goodies
 

Attachments

  • day8-011.jpg
    day8-011.jpg
    58.2 KB · Views: 4
  • day8-012.jpg
    day8-012.jpg
    69.3 KB · Views: 5
  • day8-013.jpg
    day8-013.jpg
    55.9 KB · Views: 3
Day 9
Today, I spent a lot more time then I normally do on this keyboard!
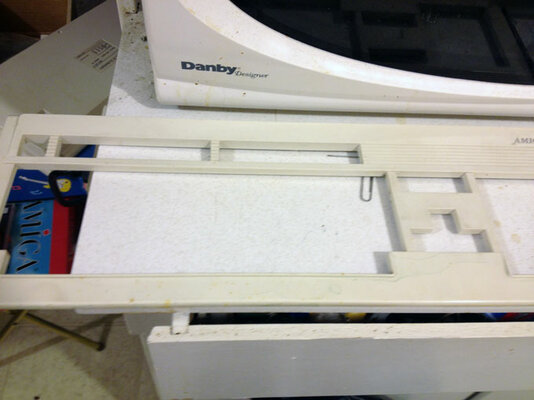
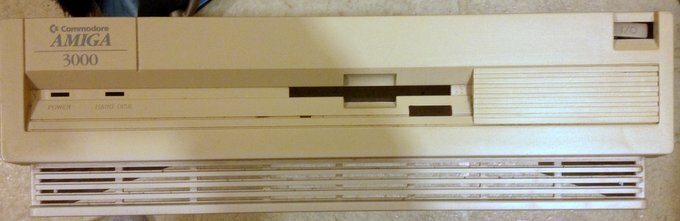
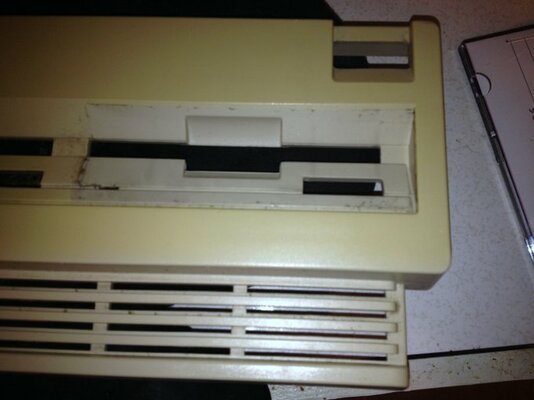
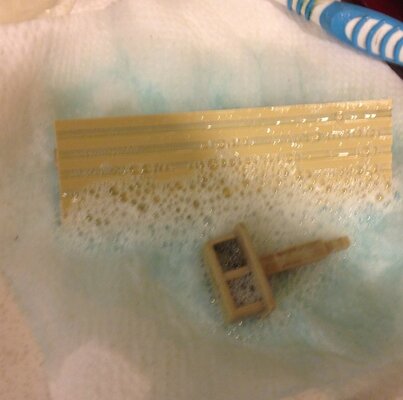
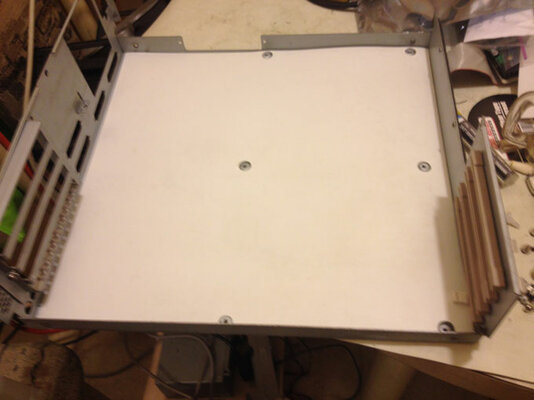
I first vacuumed off the dust, hair, and general grime off of the keyboard. It looked good except for this small area above the space bar. I thought it was just dried coke or some kind of syrupy substance, so I got to scrubbing with a toothbrush. After about 5 min, I decided to switch from Windex to hot water for this, after all, what better than hot water to dissolve sugar lumps. I got a small pan of water boiling on the stove and kept sticking the toothbrush in it. Nothing was giving, so then I switched to a small fine steel brush. This just ended up scratching and gouging the plastic. Try as I might, this “stuff” was not going to give.

I then washed down the rest of the board with Windex.

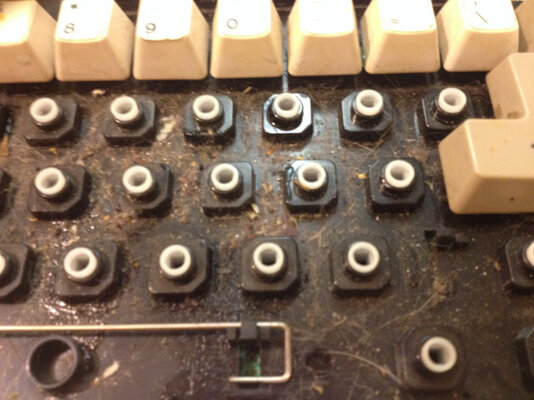
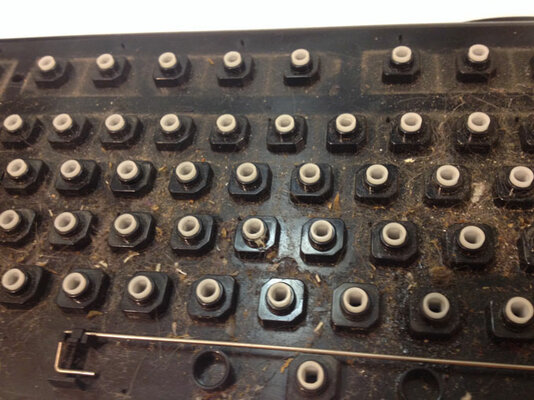
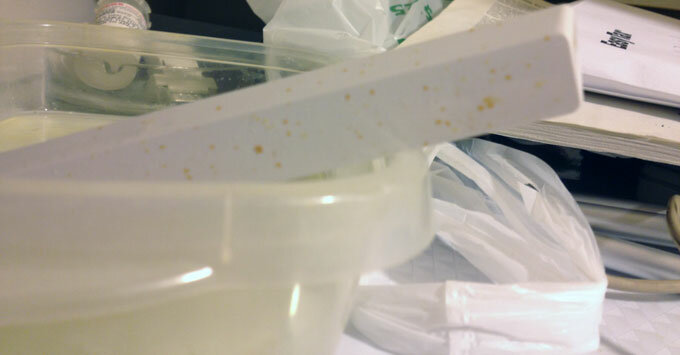
Now, comes the tedious part, the scrubbing and replacing of the keys. Since the space bar was so spotted up, I let that soak in a bath of bleach overnight. I took out the bar, and discovered the bleach had did nothing. I then gave it a good scrub, and discovered the brown marks were not going to come off.
At this time, a small theory was starting to form in my head about the brown spots, key-stickers and the piles of stuff (that I thought was sugar) under the keys. (but I will get to that hypothesis later).

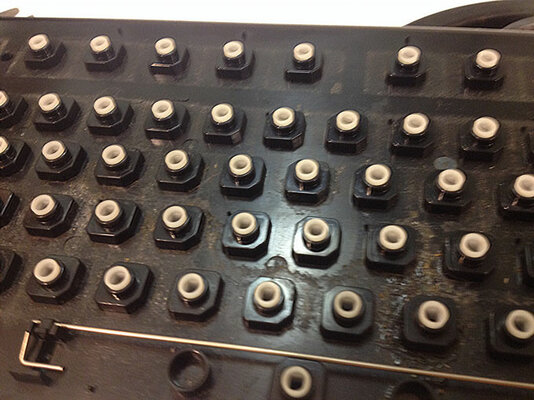
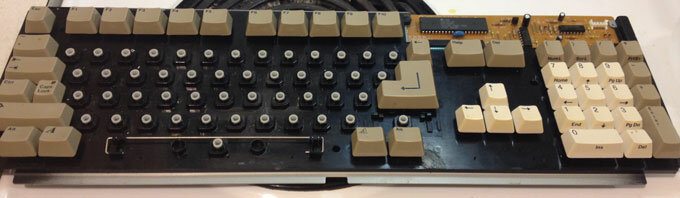
I then put netflix “House Of Cards” on for background, and began the long task of peeling stickers off, scrubbing, and replacing keys.

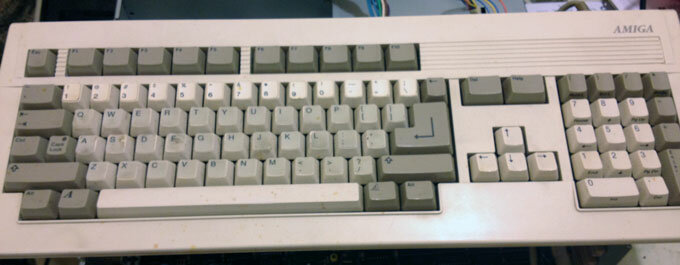
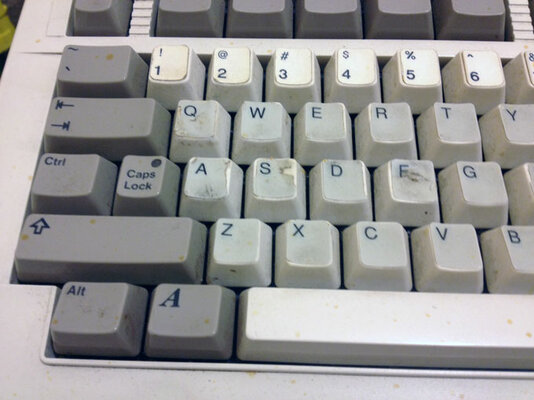
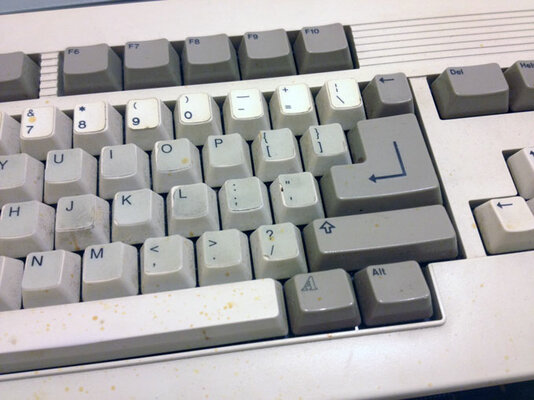
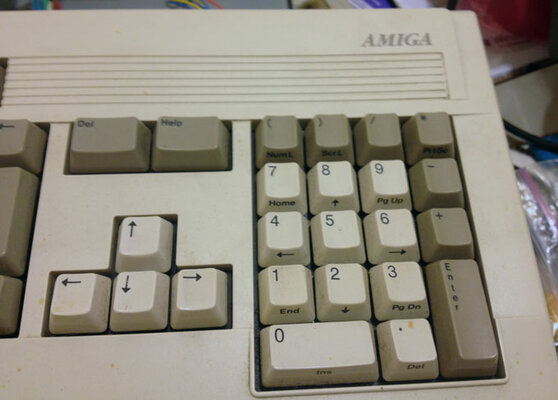
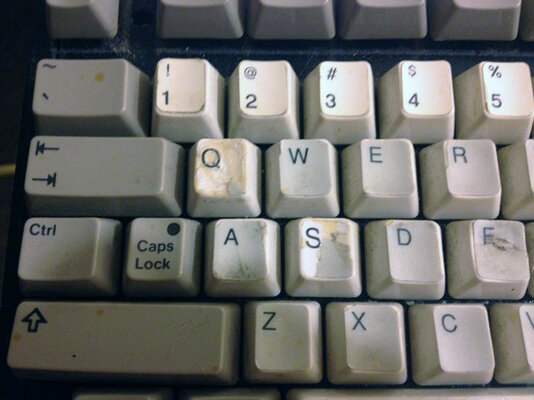
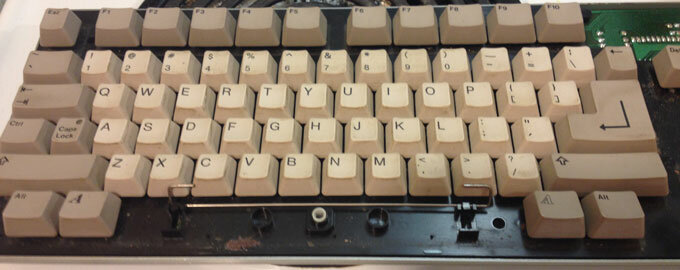
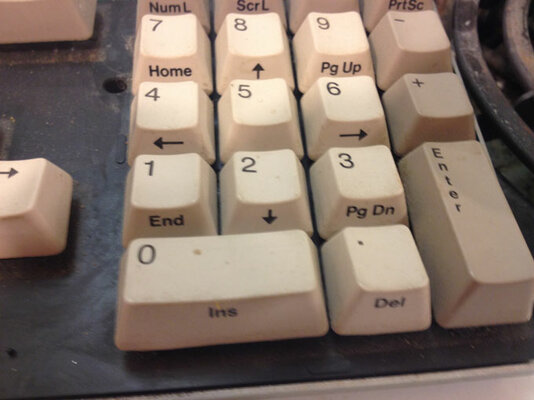
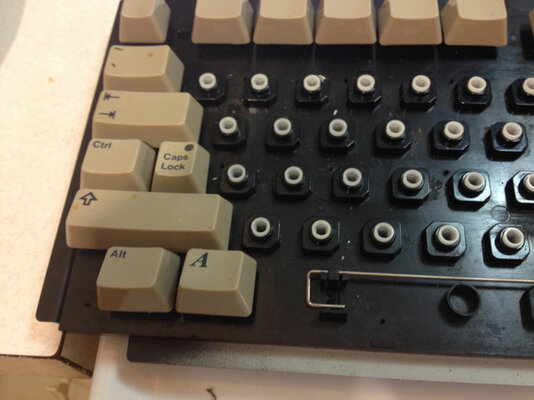
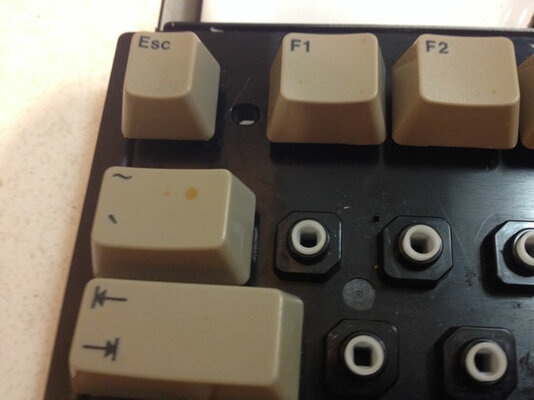
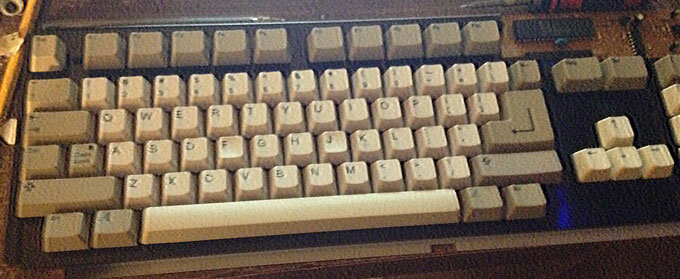
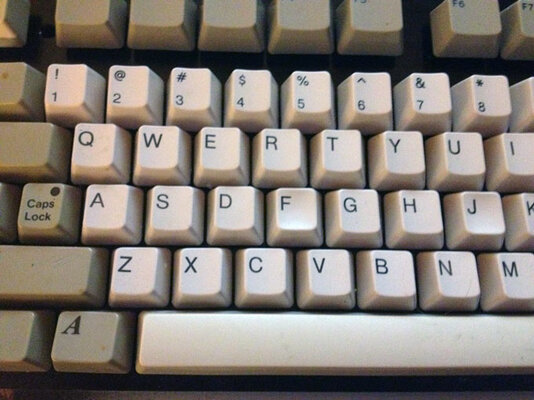
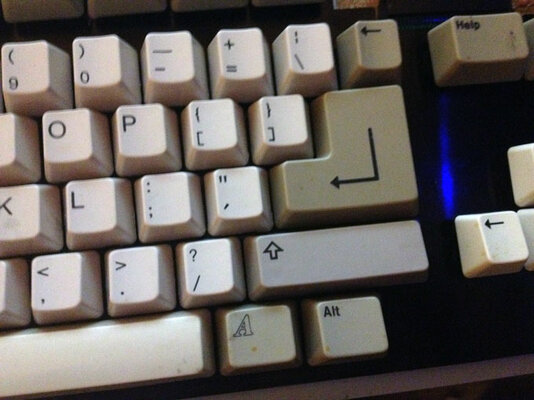
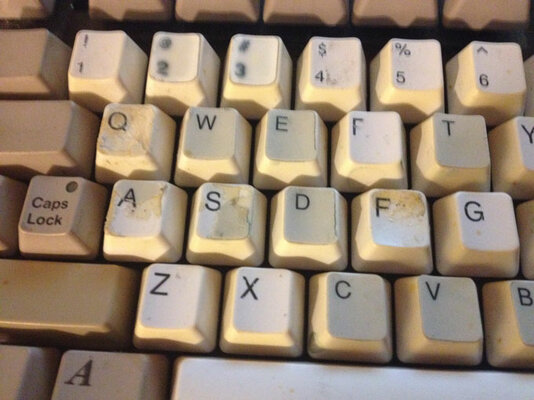
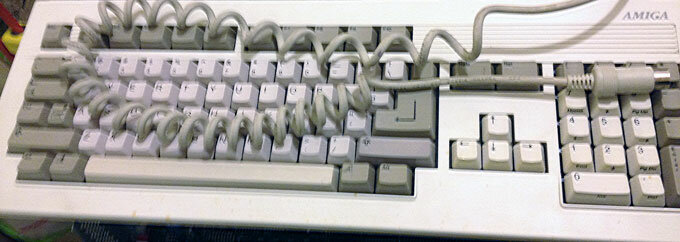
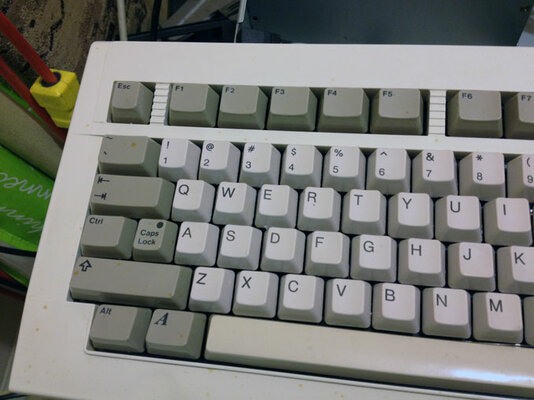
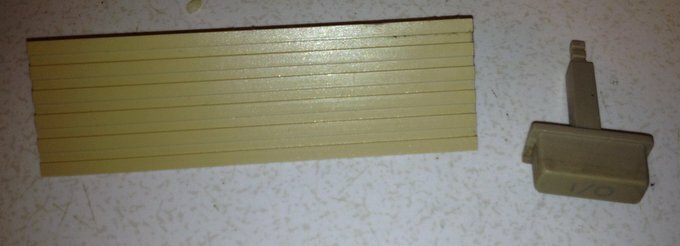
It wasn't long before I began to notice a few things, first, the white keys showed signs of UV yellowing on the sides. The brown spots were everywhere, and once I began to peel off the stickers, I could see that about 60% of the keys were “losing” the actual letter (it was coming off). Finally, a bunch had scratches or gouges in them.
I began tossing aside the keys that were really bad, thinking I would replace them from my donar keyboard later.
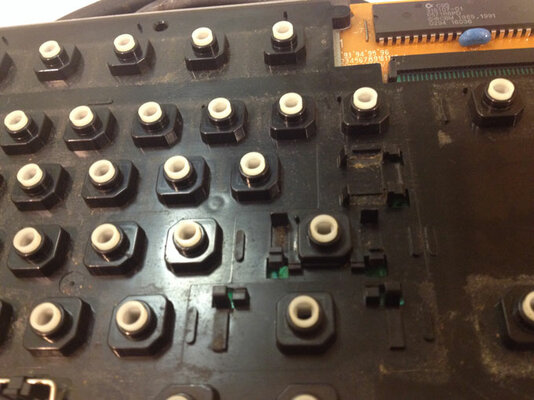
About a hour in I came across keys that had the stickers re-glued with crazy glue or such. This was the “B” key, and right were that big pile of gunk was. So, (I guess) the big pile of gunk was actually hardened glue and I could of scrubbed til the cows came home and got nowhere.

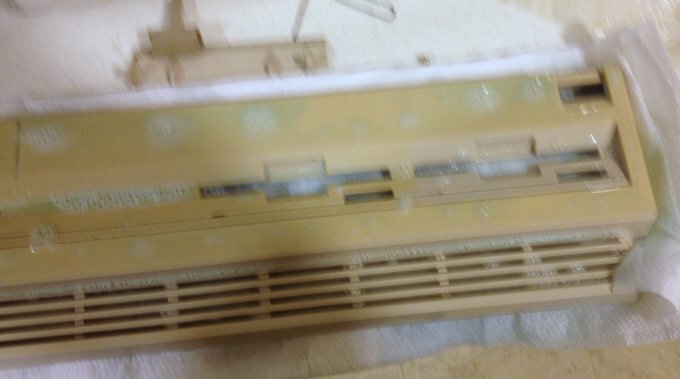
So, my theory is this. The brown spots were wood stain. Probably splattered accidentally or they forgot to cover the keyboard when painting. They then tried to remove the brown spots with paint thinner, and thus, started to remove the ink off the keys as well. Then they got the stickers, to try to cover the damage they had done. Sometime later, a few of the stickers had started to come loose and they glued them back on, but some of the glue dripped down between the keys, mixing with the grime underneath.

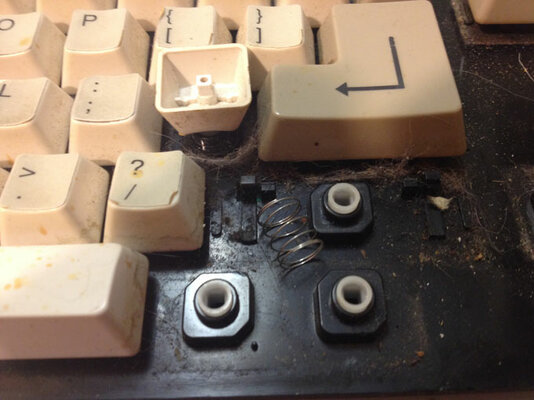
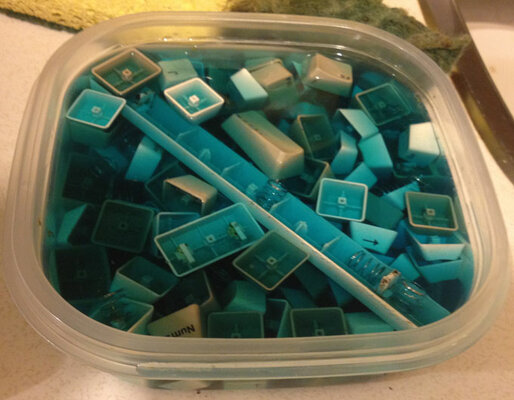
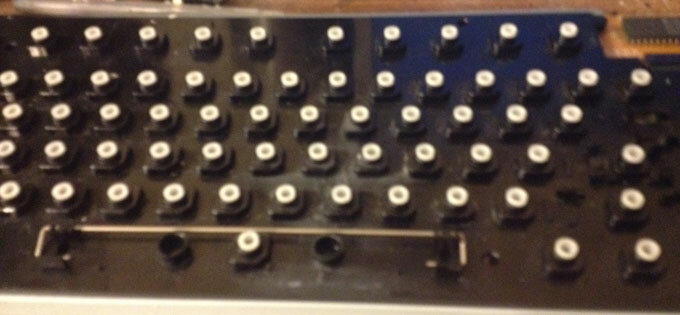
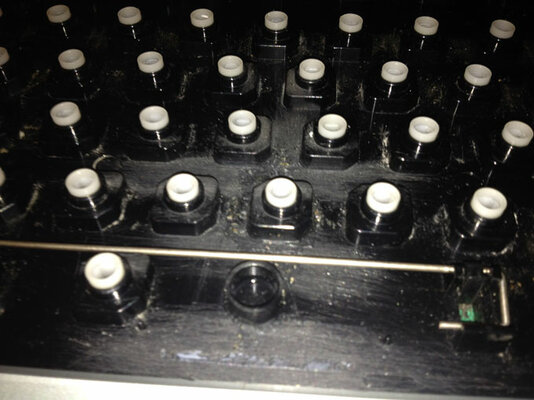
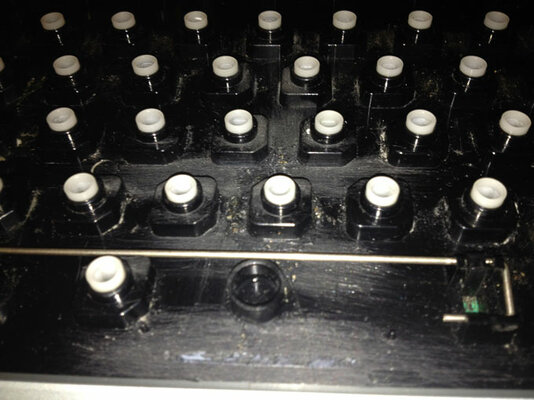
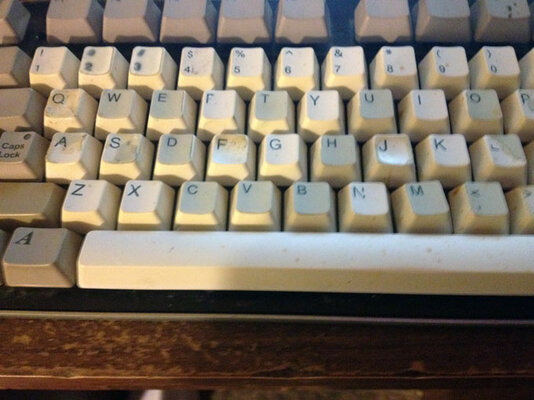
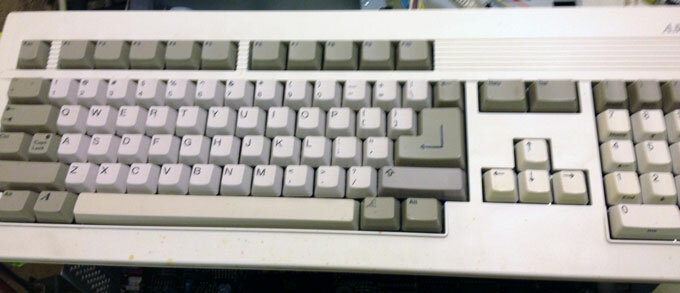
So, about an hour or so in I then decided to replace all the white letter keys from my donor board. I then removed the ones I had and got to work popping the keys off the donor board. The other keys are more grey then white, but at least it will look nicer.
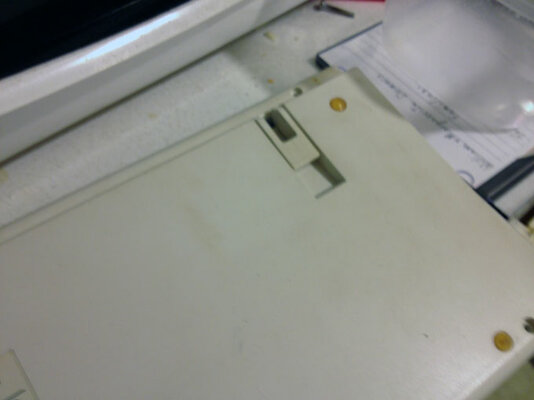
I wanted to let those keys soak overnight also, but I wanted to “test” one out. It was then I found out that even though they look almost Identical, the locking mechanism is a tad smaller in the donor board. Meaning, I will also have to swap out the slides inside. This will require a bunch more work, but I think it will be well worth it in the end.
I will leave that for the next days chore.
 

Attachments

  • day9-001.jpg
    day9-001.jpg
    71 KB · Views: 6
  • day9-002.jpg
    day9-002.jpg
    56 KB · Views: 5
  • day9-003.jpg
    day9-003.jpg
    33.7 KB · Views: 2
  • day9-004.jpg
    day9-004.jpg
    53.1 KB · Views: 3
  • day9-005.jpg
    day9-005.jpg
    55.5 KB · Views: 2
  • day9-006.jpg
    day9-006.jpg
    34.9 KB · Views: 4
  • day9-007.jpg
    day9-007.jpg
    40 KB · Views: 6
  • day9-008.jpg
    day9-008.jpg
    33.9 KB · Views: 4
  • day9-009.jpg
    day9-009.jpg
    22.5 KB · Views: 2
  • day9-010.jpg
    day9-010.jpg
    29.3 KB · Views: 3
more pictures
 

Attachments

  • day9-011.jpg
    day9-011.jpg
    45.6 KB · Views: 2
  • day9-012.jpg
    day9-012.jpg
    33 KB · Views: 3
Day 10
Not much for pictures today.
With the nonsense of the long weekend over, I really knew that I must stop procrastinating on these keyboards and get something done.
I had to force myself to do the next step, as it is rather tedious and I had to do it to 2 Keyboards.
I got out my micro screwdriver and removed the 2 dozen or so microscrews on the back, making sure to ziplock bag them, so I didn't loose any.

Once that was done, I carefully flipped back the circuit board and chassis. On the A3000 keyboards, there is a Mylar sheet that I made sure didn't wiggle out of its connection.

Now, with the board separated, you can flip it over, and all the little slides will fall out, but you have to be careful not to loose the Caps Lock LED.
The moment of truth arrived. I was not sure if these slides would fit. They could be just a hair different or worse. Luckily, they fit exactly the same on both keyboards.

Now, comes the task of putting everything back together. It's not hard by any means, but it seems to take forever. I know what you are thinking, why not just leave the donor keyboard all apart? If I put it all back together now, the screws or LED won't go missing later.

So all together, this killed about an hour from start to end. Next, it's cleaning and putting the keys back on.
 

Attachments

  • day10-001.jpg
    day10-001.jpg
    18 KB · Views: 3
  • day10-003.jpg
    day10-003.jpg
    60.8 KB · Views: 6
Day 11
Well, the nightmare of the keyboard is over. We can go back to the A3000 itself.
I began the day, by scrubbing keys. Because of the delay of the long weekend, the keys had been sitting in Windex for over 3 days now, so they should be clean. I was worried about the metal springs though, and if they corroded or not. It's no big issue, I would have just used the rubber springs instead.

As soon as I finished up the good keyboard, I took the time to replace the old keys on the donor, as not to loose anything. Luck would have it 1 of each type of spring went missing, so I had to use just 1 rubber spring on the good keyboard, and the donor is missing 2. I have a bag full of those rubber springs somewhere, I am just too lazy to hunt them down for 2 springs.

You can see in the photos, the effort was well worth it. The only thing is I could have replaced ALL the keys, but then you wouldn't get the Franken effect. Besides, the shell still had brown spots on it.

I then began cleaning the outer shell with a Mr. Clean Magic Eraser. A good wipe down revealed a lifetime of dirt. It's not perfect, but it's 100 times better then it was before.

Last a quick assembly. I opted to put a normal size cable on it. As some of you know, changing a cable is child’s play as it just plugs into the keyboard and you have to screw a ground cable to the bottom.
 

Attachments

  • day11-001.jpg
    day11-001.jpg
    49.8 KB · Views: 4
  • day11-002.jpg
    day11-002.jpg
    60.6 KB · Views: 3
  • day11-003.jpg
    day11-003.jpg
    52.7 KB · Views: 3
  • day11-004.jpg
    day11-004.jpg
    57.1 KB · Views: 3
  • day11-005.jpg
    day11-005.jpg
    54.1 KB · Views: 3
  • day11-008.jpg
    day11-008.jpg
    39.4 KB · Views: 3
  • day11-012.jpg
    day11-012.jpg
    20.2 KB · Views: 3
  • day11-016.jpg
    day11-016.jpg
    36.2 KB · Views: 2
  • day11-017.jpg
    day11-017.jpg
    32.4 KB · Views: 3
  • day11-019.jpg
    day11-019.jpg
    48.7 KB · Views: 4
Day 12

Not a good day personally, I got a sinus cold and on top of that I lost power! I won't go into it,
But I am living without power for a few days. I did this update using my netbook and my wireless
internet stick. I had to crop and reduce the photo sizes in Picasa so, they might not be as good
as usual.

For the first time today, I grabbed the lid, and really took a good look at it. You can see in the photos
that its a bit yellowed and dirty.
I took it all apart and scrubbed it down, First,with the Mr.clean Magic eraser, then soaked it all with
Windex.
Not much more to show.I did scrub down the small bit of dust on the lid, both inside and out, but I wasn't
going to waist time with those pictures.
Of course, I re-assembled it when I was done.
 

Attachments

  • day12- 001.jpg
    day12- 001.jpg
    24.3 KB · Views: 4
  • day12-002.jpg
    day12-002.jpg
    31.7 KB · Views: 2
  • day12-003.jpg
    day12-003.jpg
    35.8 KB · Views: 3
  • day12-004.jpg
    day12-004.jpg
    45.3 KB · Views: 3
  • day12-009.jpg
    day12-009.jpg
    48 KB · Views: 4
  • day12-010.jpg
    day12-010.jpg
    37.9 KB · Views: 3
  • day12-013.jpg
    day12-013.jpg
    21.1 KB · Views: 3
  • day12-017.jpg
    day12-017.jpg
    21.9 KB · Views: 2
more photos
 

Attachments

  • day12-018.jpg
    day12-018.jpg
    29.9 KB · Views: 2
  • day12-019.jpg
    day12-019.jpg
    50.5 KB · Views: 3
  • day12-008.jpg
    day12-008.jpg
    49.5 KB · Views: 3
Hello,

to remove the "yellow" and to have an uniform tint like the original, you need to put the plastic cover, with a film of H2O2, under the sun...and wait. That's all!

Regards
Stefano
 
Last edited:
Oh, Vibros,
If only it were that simple. Here in Canada, it's impossible to get H202 anything over .03% without a licence. If I had the source and the time, I would do a "Hair Bleach" treatment, but I don't have the time to wait 6 weeks for a batch to come in.
Also, we all know, no one will actually pay MORE for it if it were not yellowed.My Time and effort, doesn't mean anything to a potential buyer. It all comes down to the price (and shipping). That.s why I include shipping in my prices, so the potential buyer knows exactly how much he or she is paying. It doesn't matter how much shipping material is used, time,gas,etc, all the buyer cares for is what the bottom line is.
 
Last edited:
Back
Top Bottom