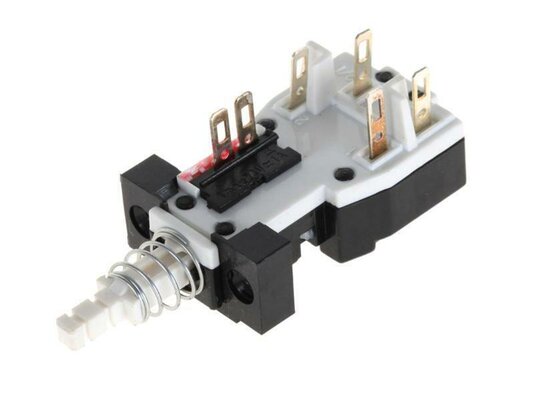
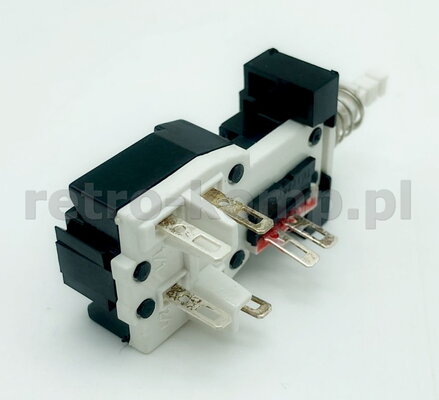
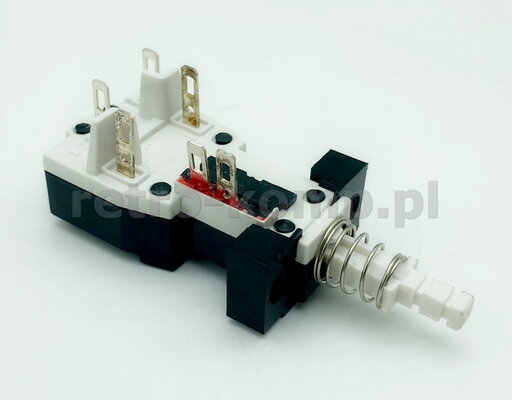
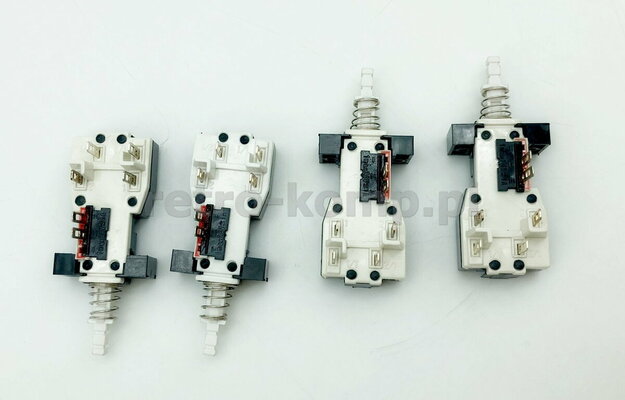
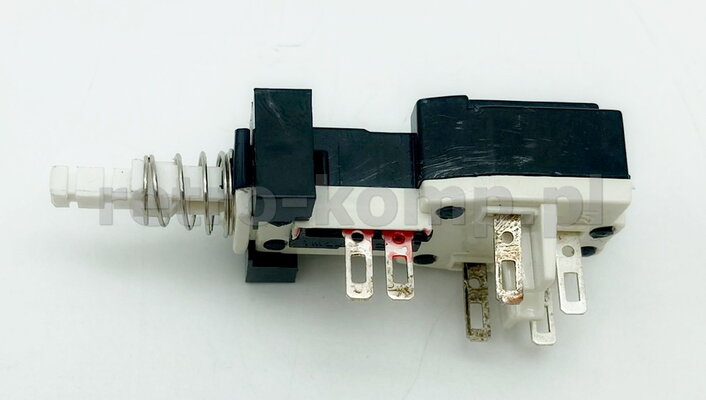
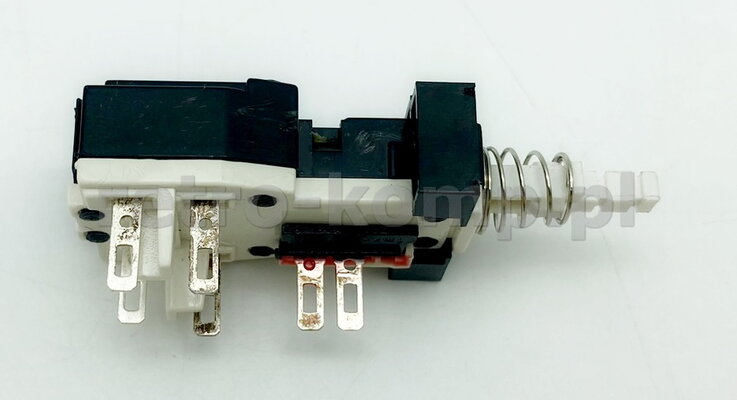
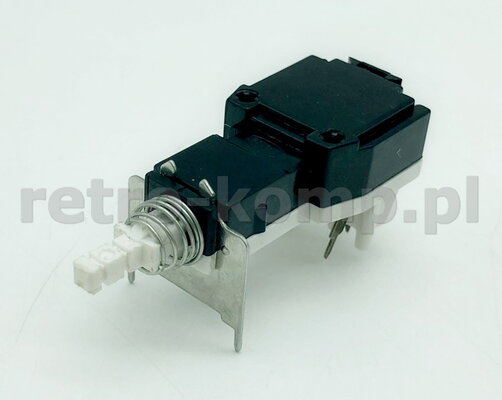
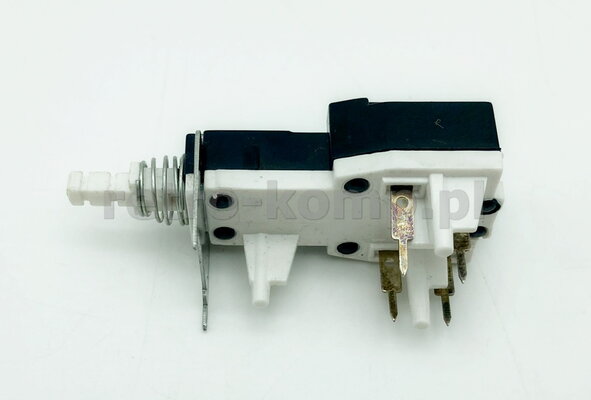
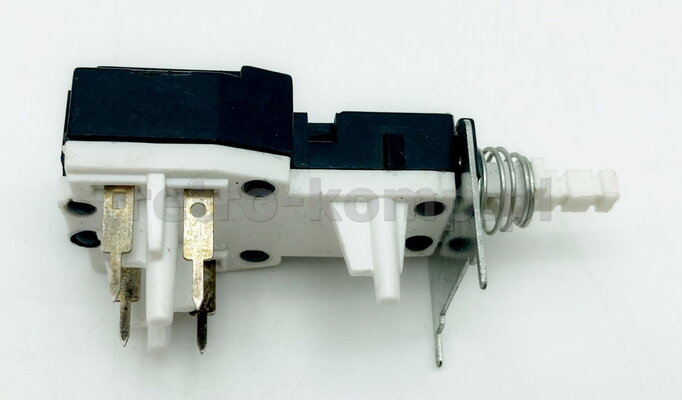
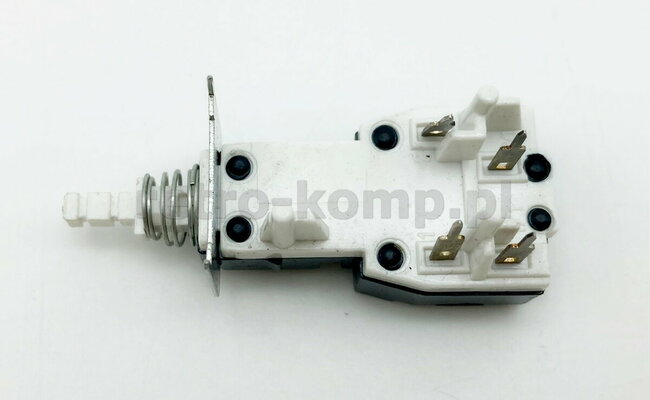
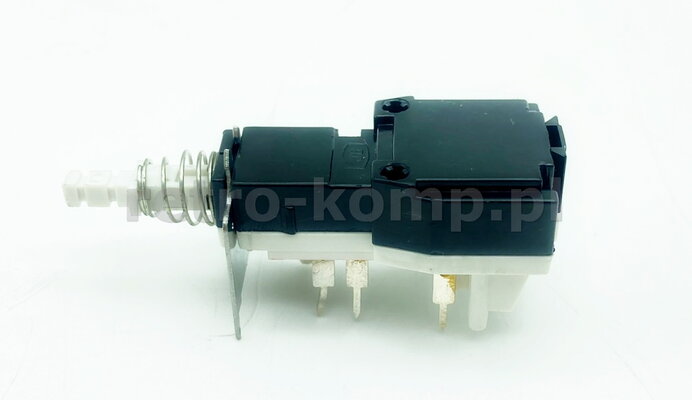
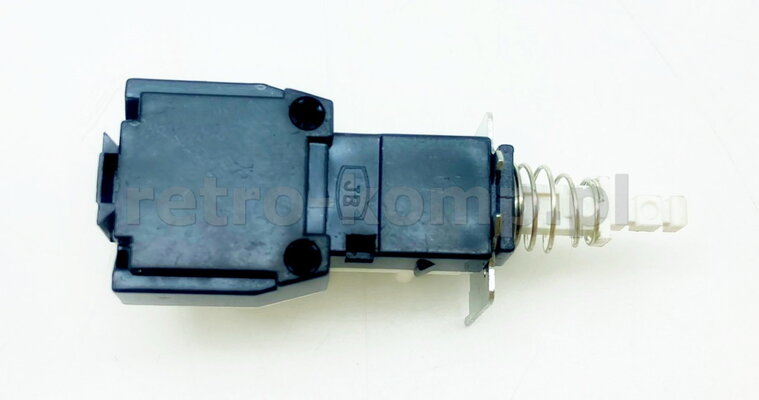
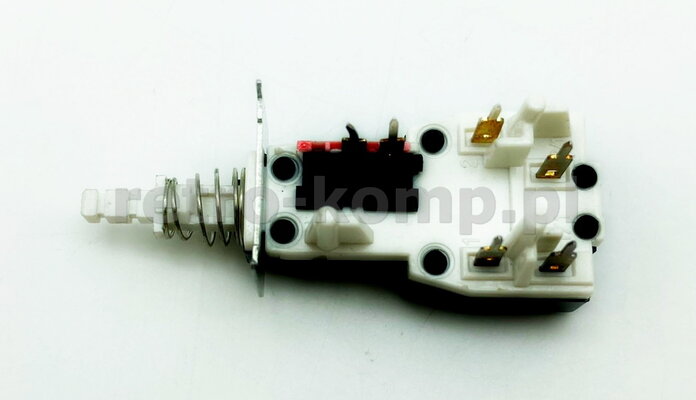
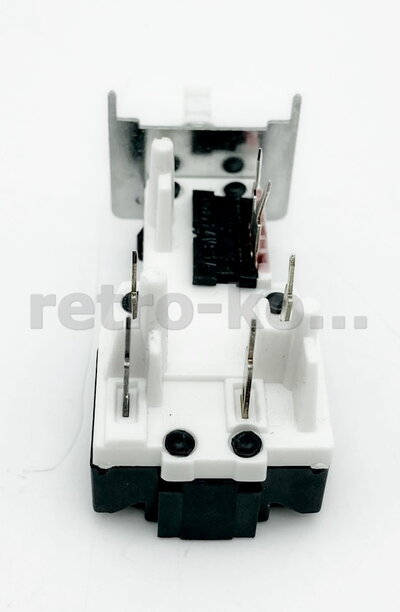
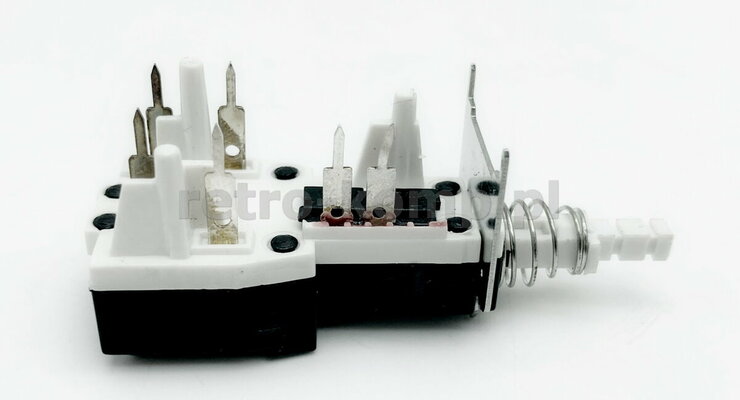
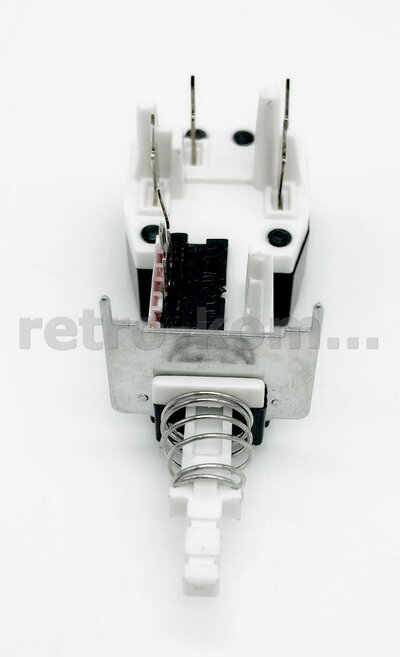
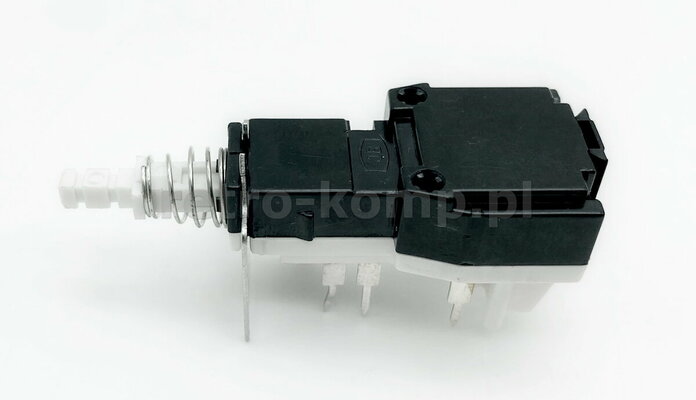
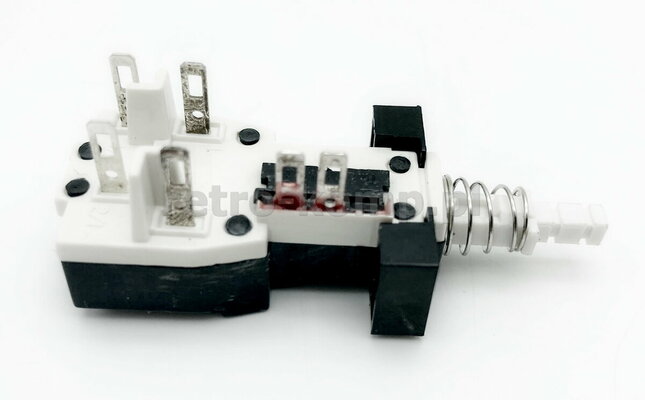
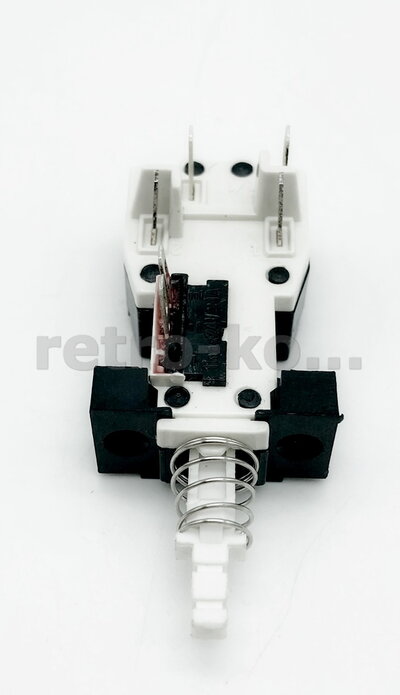
For sale here are brand new & never used power switches for the CRT Monitors !!!.
Buttons fits for this monitors:
- Commodore 1081
- Commodore 1082c
- Commodore 1084S-D
- Commodore 1084s-d1
- Commodore 1085S-D2
- Commodore 1085s-d3
- Commodore 1802
- Commodore 1901
- Commodore 1940
- Philips CM8833-II

Prices:
- 15 euros - 1 pcs
- 60 euros - 5 pcs
Prices including international postage with tracking and with insurance !!!
Payment for Paypal - My PayPal
PM me where to send and transaction number.
I have a legal business in my country, I issue a proof of purchase for each product ordered from me !!!
I have this buttons on ebay:
- 1 pcs.
- 5 pcs.
These are identical to the one delivered with (mine anyway) the 1084. No need to mess around with the dremel. Simply remove metal collar and replace with plastic one from your 1084. You can snip the 2 unused solder tags, or leave them if they do not get in the way.
This thread will remain open until I have none left. No need to PM me asking if still available.
Instructions (thanks @mrr19121970)
It is a really easy repair. Remember if you do this and you are injured or damage your monitor, I am not responsible. Make sure you unplug the monitor from the mains, and don't touch anything inside the machine except the plastic. Unscrew 5 screws on the back. Slide off the back panel. Unplug the "molex" connector for speaker and put back panel to one side. Disconnect 4 wire "molex" connecting the mainboard to power board. Underneath the monitor is a small hole. You can see a tab on the power board. Press this in and slide out the power board. Now you can unscrew the on/off switch and desolder the 4 tabs. Remove the plastic collar from the old switch, put it on the new switch. Solder the 4 wires back on the tabs (front power cable, back power board), screw on/off back in place. Slide power board back in position. Connect power board "molex". Connect speaker "molex". Slide back-panel back on. Replace 5 screws.
See video here for more detailshttps://youtu.be/x8QM-TQ0ghA or or
Buttons fits for this monitors:
- Commodore 1081
- Commodore 1082c
- Commodore 1084S-D
- Commodore 1084s-d1
- Commodore 1085S-D2
- Commodore 1085s-d3
- Commodore 1802
- Commodore 1901
- Commodore 1940
- Philips CM8833-II
Prices:
- 15 euros - 1 pcs
- 60 euros - 5 pcs
Prices including international postage with tracking and with insurance !!!
Payment for Paypal - My PayPal
PM me where to send and transaction number.
I have a legal business in my country, I issue a proof of purchase for each product ordered from me !!!
I have this buttons on ebay:
- 1 pcs.
- 5 pcs.
These are identical to the one delivered with (mine anyway) the 1084. No need to mess around with the dremel. Simply remove metal collar and replace with plastic one from your 1084. You can snip the 2 unused solder tags, or leave them if they do not get in the way.
This thread will remain open until I have none left. No need to PM me asking if still available.
Instructions (thanks @mrr19121970)
It is a really easy repair. Remember if you do this and you are injured or damage your monitor, I am not responsible. Make sure you unplug the monitor from the mains, and don't touch anything inside the machine except the plastic. Unscrew 5 screws on the back. Slide off the back panel. Unplug the "molex" connector for speaker and put back panel to one side. Disconnect 4 wire "molex" connecting the mainboard to power board. Underneath the monitor is a small hole. You can see a tab on the power board. Press this in and slide out the power board. Now you can unscrew the on/off switch and desolder the 4 tabs. Remove the plastic collar from the old switch, put it on the new switch. Solder the 4 wires back on the tabs (front power cable, back power board), screw on/off back in place. Slide power board back in position. Connect power board "molex". Connect speaker "molex". Slide back-panel back on. Replace 5 screws.
See video here for more detailshttps://youtu.be/x8QM-TQ0ghA or or
Attachments
-
 s-l1600.jpg23.8 KB · Views: 42
 -
 IMG_1033.jpg44 KB · Views: 17
 -
 IMG_1034.jpg49.6 KB · Views: 21
 -
 IMG_1035.jpg76.8 KB · Views: 24
 -
 IMG_1036.jpg45.1 KB · Views: 20
 -
 IMG_1037.jpg42.9 KB · Views: 14
 -
 IMG_1038.jpg32.8 KB · Views: 14
 -
 IMG_1039.jpg46.1 KB · Views: 14
 -
 IMG_1040.jpg54.5 KB · Views: 16
 -
 IMG_1041.jpg57.4 KB · Views: 20
 -
 IMG_1043.jpg37.2 KB · Views: 17
 -
 IMG_1044.jpg38.6 KB · Views: 21
 -
 IMG_1045.jpg44.1 KB · Views: 20
 -
 IMG_1047.jpg37.1 KB · Views: 13
 -
 IMG_1048.jpg46.8 KB · Views: 16
 -
 IMG_1049.jpg45.4 KB · Views: 11
 -
 IMG_1050.jpg47 KB · Views: 14
 -
 IMG_1051.jpg53.1 KB · Views: 15
 -
 IMG_1052.jpg43.9 KB · Views: 22
Last edited: