You are using an out of date browser. It may not display this or other websites correctly.
You should upgrade or use an alternative browser.
You should upgrade or use an alternative browser.
Retr0bright Support Thread
- Thread starter gazcbm
- Start date
- Replies 1053
- Views 419001
Bought all the ingredients and created the mixture yesterday.
I couldn't find Xanthan gum, but one of the health food shops I went in sold me some gluten substitute, one of the ingredients in which is guar gum, which the man said was usually used as a substitute. Well, it did turn the liquid into a gel, after putting in 4 tablespoons more than the recipe suggested (6 in total), so we'll see how it goes. I have a strong suspicion it works, as when my mum was cleaning the food processor, she put it on the windowsill to dry and it has actually de-yellowed the food processor! I'll hopefully test it on Saturday with a few consoles I don't like first
I couldn't find Xanthan gum, but one of the health food shops I went in sold me some gluten substitute, one of the ingredients in which is guar gum, which the man said was usually used as a substitute. Well, it did turn the liquid into a gel, after putting in 4 tablespoons more than the recipe suggested (6 in total), so we'll see how it goes. I have a strong suspicion it works, as when my mum was cleaning the food processor, she put it on the windowsill to dry and it has actually de-yellowed the food processor! I'll hopefully test it on Saturday with a few consoles I don't like first
Hey, I make no claims about cleaning food processors, although hydrogen peroxide will do a pretty good job of sterilising it!! Please tell me it wasn't yellow when she bought it....:wooha:
A guy called Fneck at the French forum system-cfg.org has had some success with something called 'Gumilk', which I think is something along the lines of your gluten. If it works and makes a gel, that's all you need....
As always, we want pictures, we want hardware pr0n of your experiments....

A guy called Fneck at the French forum system-cfg.org has had some success with something called 'Gumilk', which I think is something along the lines of your gluten. If it works and makes a gel, that's all you need....
As always, we want pictures, we want hardware pr0n of your experiments....
Lol, it is quite an old food processor - around 15 years old I'd say, so it had yellowed quite nicely. It would look almost brand new now if it weren't for the labels having rubbed off with years of use...Hey, I make no claims about cleaning food processors, although hydrogen peroxide will do a pretty good job of sterilising it!! Please tell me it wasn't yellow when she bought it....
Also, the (transparent) bowel itself had turned quite an oddish pale blue, and it somehow went back to the purply-darkish-blue that it originally was - don't know if that's the same effect or if I'm just imagining that, but again, it did seem to have an effect...
Ok - finally got my liquid peroxide 12% - stuff in the dishwasher, ingredients laid out, goggles and gloves to hand. I promised Merlin a long time ago I would take photos, which I am. Do I post them here or in my photo album or somewhere else?
Please, post them here... we are waiting for them.... please also try to keep them fairly small (say 800x600) so that pages don't take too long to load; remember, we have Amiga users who use them to access Amibay.
Thanks
Thanks
Goggles and gloves on. Time to measure.....
Was much foamier and gloopier than i imagined it would be. First pic is 500ml of 12% and xantham gum. 2nd is after the glycerine. The mixture held onto the spoon as shown in the pic.
I only had a hand blender, but gloved and goggled I felt confident it would be ok. In the end there was no splashing.
I have foiled an old cat litter tray about the same width as my UV tube. The conservatory seems a good place for it away from pets etc - plus maybe the extra light might help it in there.
So Oxy next when the dishwasher finishes, then get painting!
Attachments
Last edited:
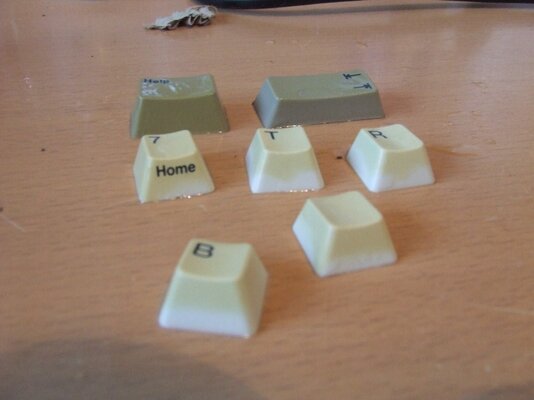
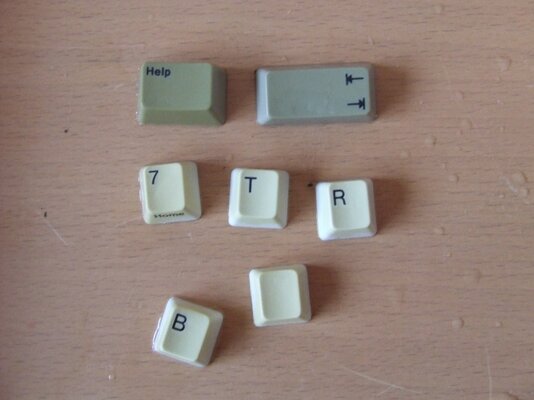
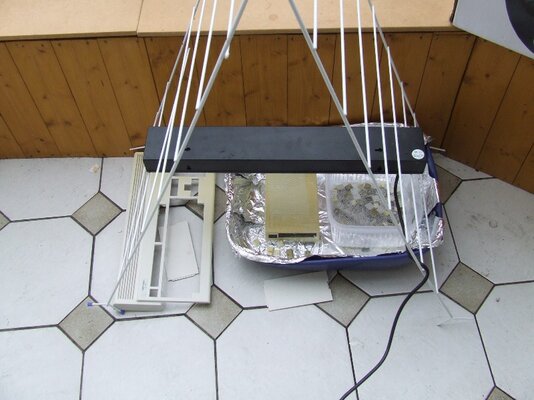
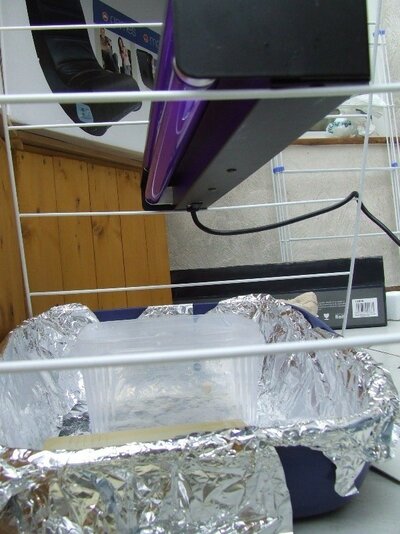
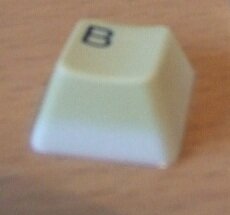
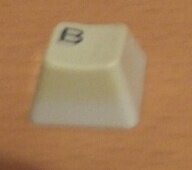
Added the oxy, gave it a wizz and started painting. Soon realised that painting each individual key was going to be a nightmare, the mix is gooey and very slippery, so made up a tub with peroxide and oxy in for the rest. Just left those I photoed out and painted them the the gel mixture.
Set up the lamp and an old litter trail lined with foil and put them in the conservatory. Time was 2.40pm when I took the pics.
Wait and see time
Set up the lamp and an old litter trail lined with foil and put them in the conservatory. Time was 2.40pm when I took the pics.
Wait and see time
Attachments
Looks good m8y, very promising indeed
Can't wait to see the after piccys
TC
Can't wait to see the after piccys
TC
")
Patience....... the results don't come straight away.
Those of us that have done this know that the reaction goes on for a little while even after taking parts out, so what you see now may improve by tomorrow.
Natural UV light whups artificial UV light any day of the week, but not at night , obviously....
Those of us that have done this know that the reaction goes on for a little while even after taking parts out, so what you see now may improve by tomorrow.
Natural UV light whups artificial UV light any day of the week, but not at night , obviously....