Justin
Active member
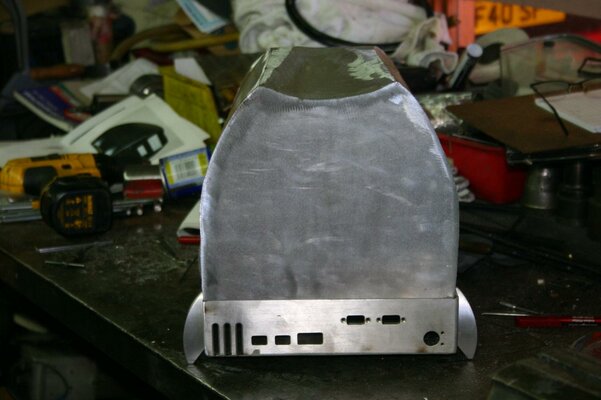
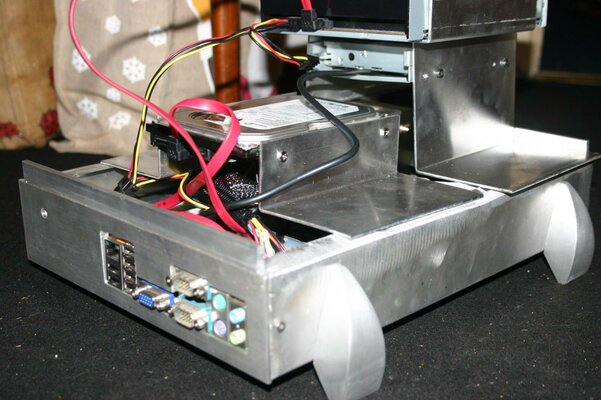
yes Argon welding
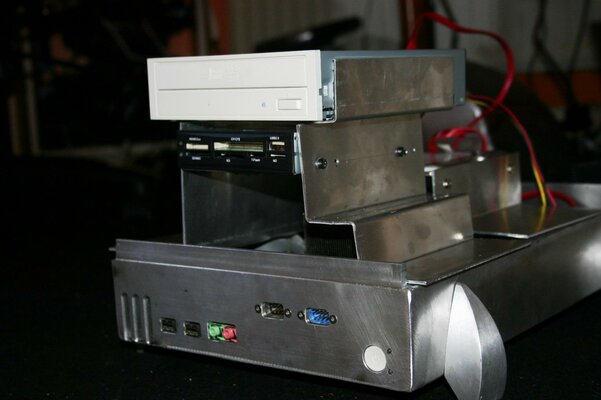
and the legs are already drilled and threaded in the inside
and the legs are already drilled and threaded in the inside
 )
)")

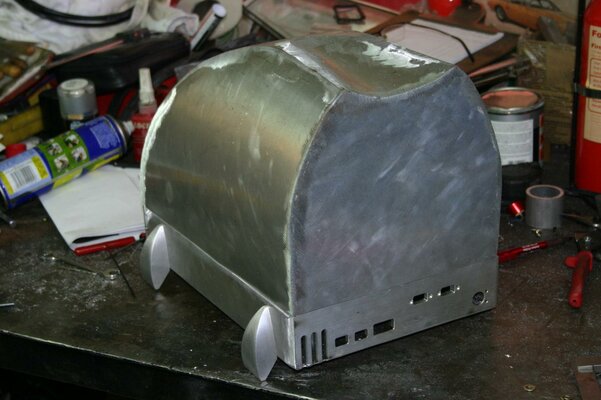
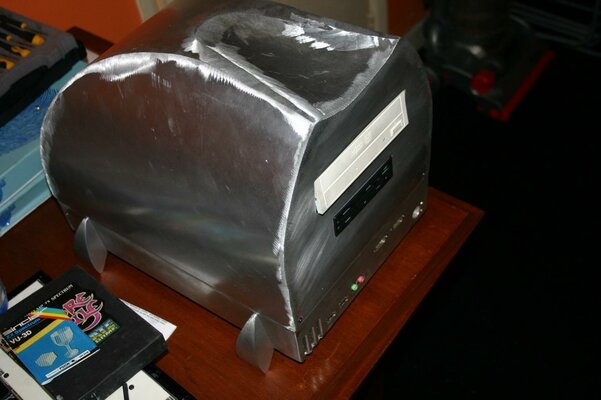
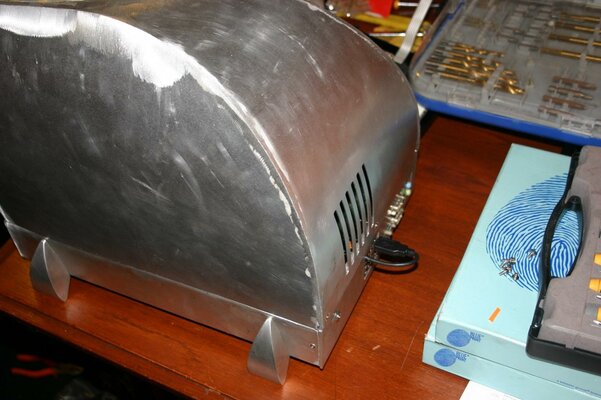
I noticed you made some extra holes and the ventilation grill offset is different. Mind to share the intentions with those reserved spaces?well things are still progressing, slowly but surely")
yes Argon welding
and the legs are already drilled and threaded in the inside
I noticed you made some extra holes and the ventilation grill offset is different. Mind to share the intentions with those reserved spaces?well things are still progressing, slowly but surely
Hmm, Argon welding. Quite tricky to master, I believe.