You are using an out of date browser. It may not display this or other websites correctly.
You should upgrade or use an alternative browser.
You should upgrade or use an alternative browser.
Walker Case Project - Was: My New Project Teaser
- Thread starter Justin
- Start date
- Replies 187
- Views 56815
remember i said the case was ready for painting? well i was wrong
so after a lot of filler and sanding, it is now ready for painting")
remember i said the case was ready for painting? well i was wrong
so after a lot of filler and sanding, it is now ready for painting
WOW!!!!
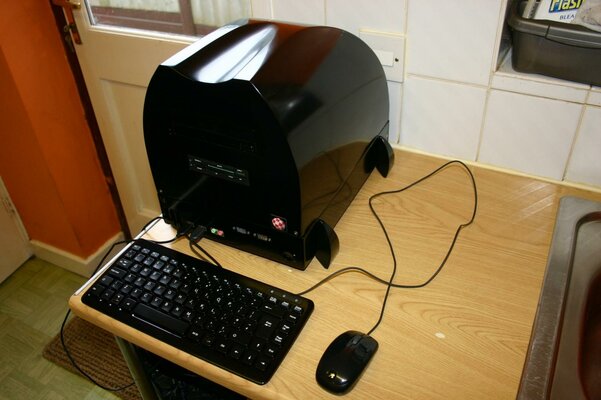
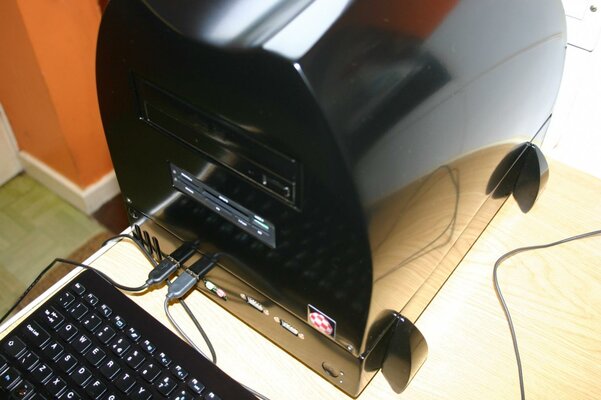
all painted up and ready to rock
please don't look at all the dust/dirt, it's only just come back from the bodyshop
WOW!!!!
What a work of art .. awesome job 
Masterpiece!
Any plans regarding "mass" production?")
Indigogo or Kickstarter - it will happen...... I will need to ask Juv if I could pleeease borrow his walker for just a week ...... =)
Justin
Active member

Hellraiser
Member
Amazing job...you sir are a true artist!
Justin
Active member
well if we change the rear panel you can in theory fit any mobo up to 245mm wide by 340mm long so if a sam board is smaller than that then yes it will fit
Justin
Active member
lol, no X1000 is next gen, this is old school
http://www.fractal-design.com/?view=product&prod=32 here is the Amiga X1000 case if you want one
http://www.fractal-design.com/?view=product&prod=32 here is the Amiga X1000 case if you want one
Last edited:
Justin
Active member
so, no pictures this time, but a sort of update, my new plan is to redo the pear panel, this time i am going to put a standard rectangle in the back that will accept a motherboard rear plate.
so V2 of this will be able to fit any motherboard that is less than 245mm wide this will make the case future proof and very upgradable
so V2 of this will be able to fit any motherboard that is less than 245mm wide this will make the case future proof and very upgradable
Justin
Active member
PICS!
*ahem....... .........please =)
lol, hold your horses there big fella!! got to make the panel first
Justin
Active member
Well upon assembly and testing i came across a major stumbling block, the
fujitsu mobo is proprietary as is the PSU
not sure how i am going to draw this........
13| 14| 15| 16| 17 | 18| 19| 20| 21| 22| 23| 24
3.3| -12| com| pson| com| com| com| x| +5| +5| 0| .06
1 2 3 4 5 6 7 8 9 10 11 12
3.3 3.3 com +5 com 5 com pwr ok +5 12 0.4 0.3
that is is pin out from this PSU hopefully you can see that this is different from a standard ATX
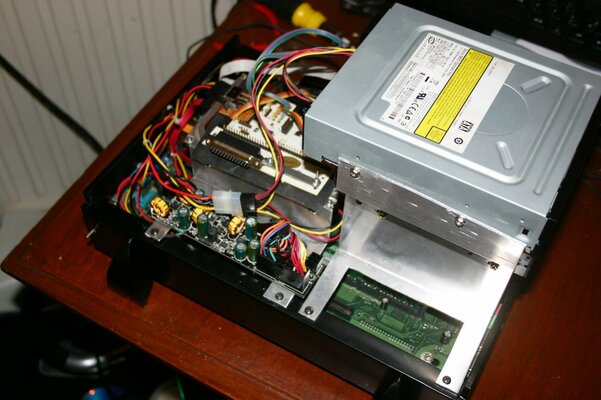
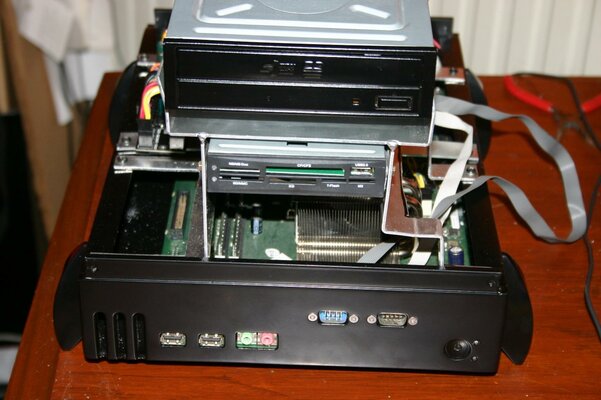
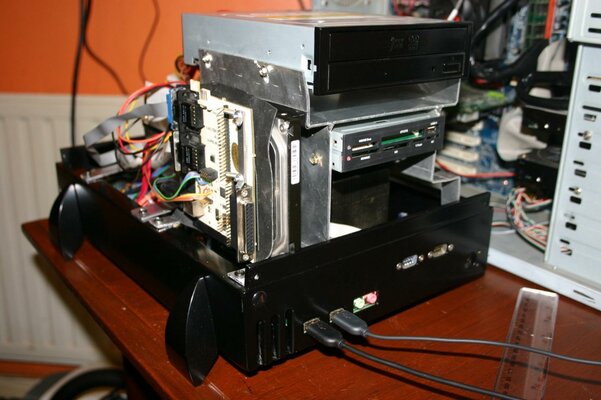
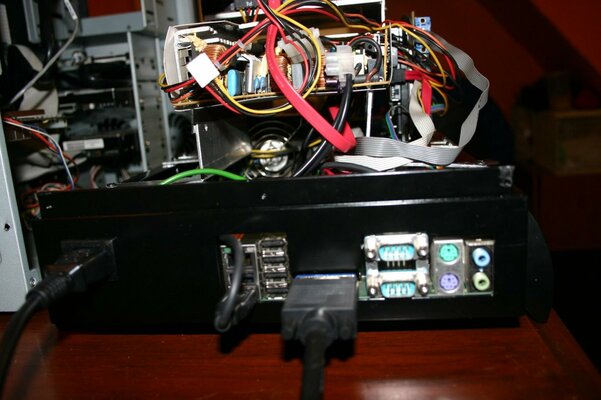
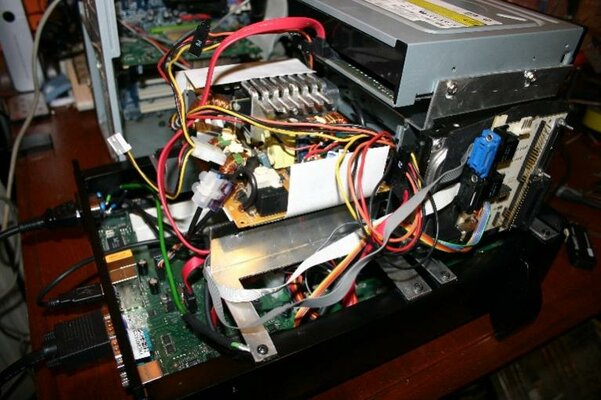
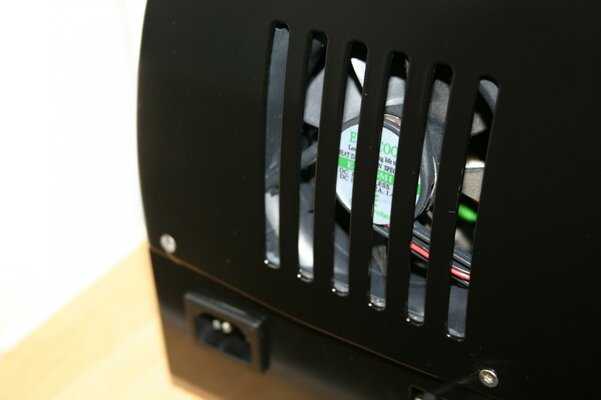
solution, strip down the original PSU, extend each cable one at a time (original atx connector wires were only approx 2" long) to approx 10" then move the IEC connector to the back panel.
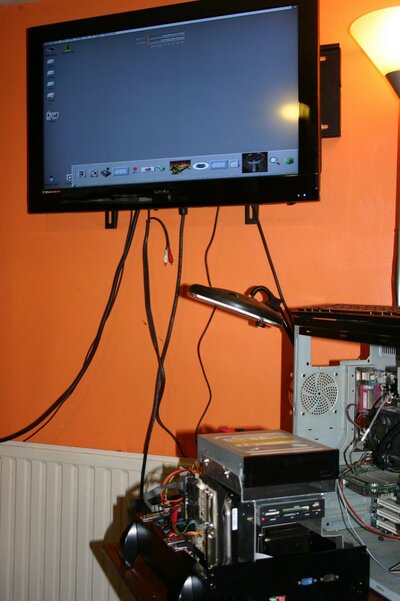
in order to do this i had to move the internal around quite a bit, but now it all works
here's some piccies of todays updates
cheers, Justin
fujitsu mobo is proprietary as is the PSU
not sure how i am going to draw this........
13| 14| 15| 16| 17 | 18| 19| 20| 21| 22| 23| 24
3.3| -12| com| pson| com| com| com| x| +5| +5| 0| .06
1 2 3 4 5 6 7 8 9 10 11 12
3.3 3.3 com +5 com 5 com pwr ok +5 12 0.4 0.3
that is is pin out from this PSU hopefully you can see that this is different from a standard ATX
solution, strip down the original PSU, extend each cable one at a time (original atx connector wires were only approx 2" long) to approx 10" then move the IEC connector to the back panel.
in order to do this i had to move the internal around quite a bit, but now it all works
here's some piccies of todays updates
cheers, Justin
Attachments
Justin
Active member
thanks m8y
yes that is a keyrah so i can use original miggy joysticks
yes that is a keyrah so i can use original miggy joysticks
Gimmie a
'J'....
 'U'....
'S'....
'U'....
'S'....
'T'....
'I'....
'N'....
What does that spell!? I think you can see where thats going!

Truly fantasic buddy, I really am liking the look of what you have achieved.... both inside and out!
'J'....
'T'....
What does that spell!? I think you can see where thats going!
Truly fantasic buddy, I really am liking the look of what you have achieved.... both inside and out!
Last edited:
Similar threads
- Locked
- Replies
- 176
- Views
- 40K