A1200 no picture...

  • Thread starter Thread starter AmiNeo
  • Start date Start date
  • Replies Replies 142
  • Views Views 17973
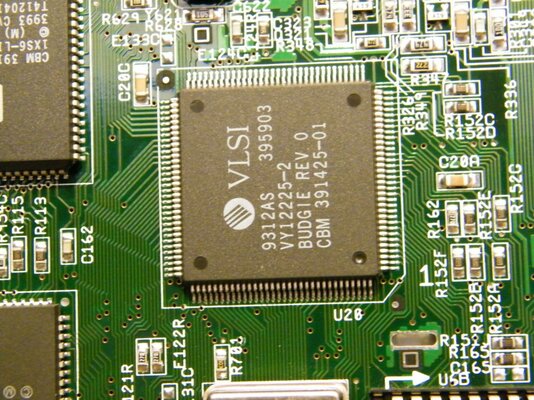
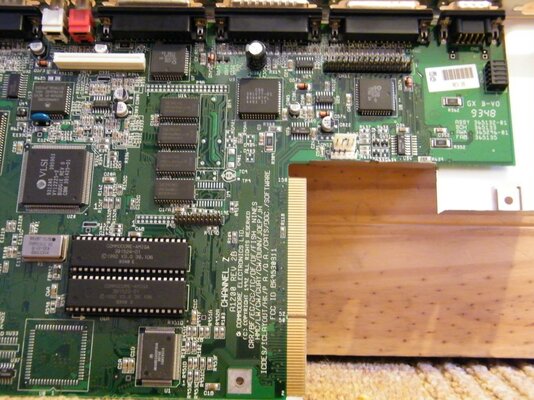
Now that I can live with, lol. Installing an EEPROM with the wrong data on shouldnt really be any different physically to putting a hard drive into a PC without a correct file system.

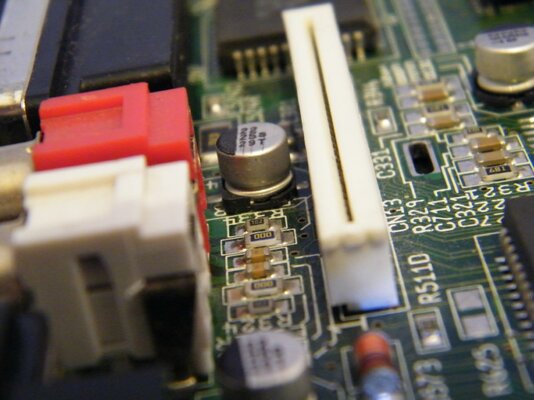
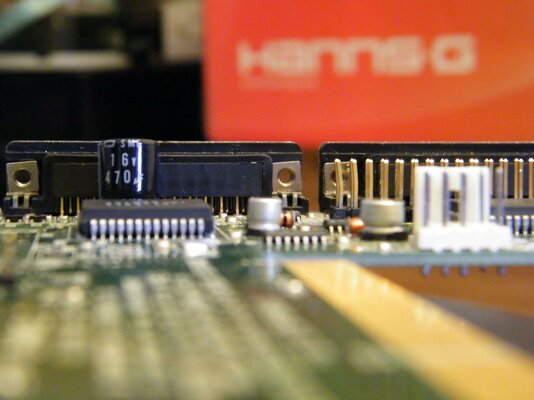
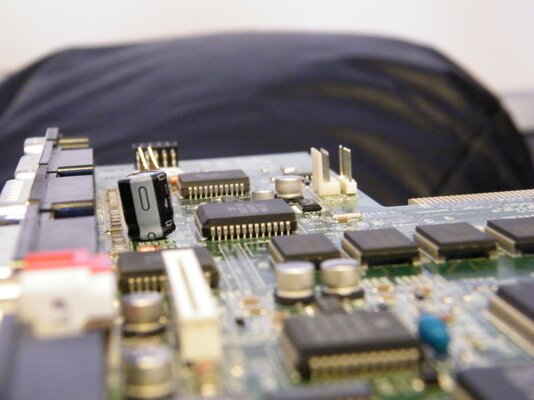
Correct me if i'm wrong but an EEPROM chip is an EEPROM chip as a hard drive is a hard drive. If they're designed for the same use and carry same voltages, even if the data is wrong they shouldnt be able to damage anything provided the pins are where they're suppossed to be in relation to voltages.
 
Its not that, its just that swapping roms between 600<>1200 conveys a negative image :D Such that imagining incorrect rom insertion is not outside the realm of posibility.
 
Rofl, yea I get what u mean. But I wouldnt do anything that I thought could damage the board even in the slightest.

Now put them in backwards and I'd be agreeing with you, lol. :lol:


CompTIA A+,
CISCO IT Essentials,
MCP (User Support),
CISCO CCNA (Expired :lol:),

...:cool: lol.
 
To end the discussion and going back to main issue:

ESCOM AG used 1D4 and 2B boards (pretty much every board that was left behind in Commodore stores/shed), but they modify ordinary pc floppy disks to operate in the boards, which forced they to hack those boards too.

But it is easy to spot the problem: hook a normal Amiga drive (it will work; OK, sort of). Put some floppy that needs the diskchange and ready signals, like State of the Art demo (two disks). If when the demo asks for the second disk and you insert it and nothing happens, the board is an ESCOM unit.
________________

Now, I still think your problem is just the capacitors.

A way to tell: with a magnifying glass check the solder pads of they. The solder must be perfectly brighting, and not a bit faded/wet/darker than other solders around.

Also, if you touch one of the solder pads with a solder iron, the smell from leaked capacitors is very similar to cat urine/rotting fish. Lovely, huh?:twisted:

BTW: the most affected capacitors on A1200/600 boards are the ones near the floppy unit (op-amp audio filters), the audio output ones (on the back of the audio jacks), the lonely chap a bit over the PCMCIA connector and at last the silver ones very near the IDE connector. Check for leakage and/or bulges (the top of the capacitor will look a bit "rounded" instead flat).

Theres nothing obvious in the way of bulging or discolouration that I can see... I will post some piccies of close ups of these areas tomorrow however while having a closer look.

Thanks again for all your help and comments guys. I'm learning more about the wonderful amiga with every post :)
 
Hey guys, I had to find my charger to recharge batteries for my cam, sorry about ther delay, heres those pics. I hope theyre good enough, I cant really see much myself thats obvious... Hopefully ive covered all the key places mentioned in the post above, if not give me a holler and I'll post another couple if necessary.

I cant beleive the little bits of dust that are showing up in these macro pics, It looks spotless to the naked eye...
 

Attachments

  • DSCF3948.jpg
    DSCF3948.jpg
    184.1 KB · Views: 4
  • DSCF3949.jpg
    DSCF3949.jpg
    169.5 KB · Views: 4
  • DSCF3960.jpg
    DSCF3960.jpg
    177.3 KB · Views: 4
  • DSCF3957.jpg
    DSCF3957.jpg
    178.4 KB · Views: 6
  • DSCF3963.jpg
    DSCF3963.jpg
    168.4 KB · Views: 2
  • DSCF3954.jpg
    DSCF3954.jpg
    175.2 KB · Views: 2
  • DSCF3964.jpg
    DSCF3964.jpg
    165.3 KB · Views: 4
  • DSCF3965.jpg
    DSCF3965.jpg
    164.2 KB · Views: 1
  • DSCF3952.jpg
    DSCF3952.jpg
    169.8 KB · Views: 2
yea the flash reveals all dust lol.

Yes much better photos than before.
Could you take a good overall shot of the board and close up of U1, U4, U20.
 
sure, bare with me theyll be up within half an hour...
 
Just a point to mention guys,

if the electrolyte has dried up - you wont see any damage on the board and the capcitor just wont function.

If you want to isolate the capacitor(s) in question you will need to use multimeter and test the positive and negative leads for charge with the A1200 powered on - you will also need to know what charge you should be getting to the actual reading.

you must start at the "power - in" jack and sequentially test each capacitor - this is because if capacitor before the one your testing is not pumping correctly it will effect those left in the chain - so start at the begning and work your way up.

This will take you atleast an hour, please be carefull not to short anything or hurt yourself.

If you can test the capcitors then please write the capacitor number (usually labled [Cxxx]) and the voltage reading - I shall hit my books in the lul momnets to see what that cap should be pumping out.

dont worry if you get negative volts thats to be expected on the audio circuit, just write down what readings you get.


To help, build up a result table:
Code:
[B]Cap No.    Rate        V+         V-[/B]
C128       47uf       +5.1       -5.1
C132       10uf       +4.98      -4.98
.... and so on 
.... and so on
That will help with diagnosiing the culprit.

However the ammount of time taken you could replace all the capacitors quicker.
 
Hey Z, unfortunately i have neither a multimeter nor a soldering iron precise enough to remove these buggers to hand.
 
Here they are, had to do the 'overall shot' in 2 halves or it kept coming out blurry.
 

Attachments

  • DSCF4007.jpg
    DSCF4007.jpg
    210.6 KB · Views: 4
  • DSCF4004.jpg
    DSCF4004.jpg
    202.5 KB · Views: 2
  • DSCF4003.jpg
    DSCF4003.jpg
    211.3 KB · Views: 3
  • DSCF4010.jpg
    DSCF4010.jpg
    203.3 KB · Views: 3
  • DSCF4011.jpg
    DSCF4011.jpg
    203.4 KB · Views: 4
I was looking for bent pins or physical damage. Nothing really to see.
I really hope its just the caps that are at fault, but I am not convinced.:unsure:
 
I was looking for bent pins or physical damage. Nothing really to see.
I really hope its just the caps that are at fault, but I am not convinced.:unsure:


What else do you have in mind?

Other than the caps having dried up I have no clue what it could be. I have gone over the board a few times now, and physically I cannot see any flaws whatsoever. Though I'm not exactly an electrician or anything, I've seen plenty of boards in far worse physical shape that boot up, lol.
 
Last edited:
C305 and the audio ones clearly (OK, not so clear) leaked.
 
Bit of discolouration of capacitors legs.

Or too much wine to cope with the cold is making here! I use to love Winter...
 
Hmmm... sure its not just the pic ? I will post a close up of that cap shortly...
 
Here we go...
 

Attachments

  • DSCF4019.jpg
    DSCF4019.jpg
    183.9 KB · Views: 2
  • DSCF4020.jpg
    DSCF4020.jpg
    184.5 KB · Views: 2
  • DSCF4022.jpg
    DSCF4022.jpg
    183.8 KB · Views: 3
  • DSCF4017.jpg
    DSCF4017.jpg
    180.8 KB · Views: 3
Nope, nothing apparently wrong.

Can you please take a close picture of the components on the back of the RGB connector and also the area around the CXA1145 (video encoder)?

The CXA1145 is located between the IDE connector and the power supply area. Also around the DSP chip (between LISA and the CXA).

Did you ever disconnected something from the RGB port with the Amiga turned on?

Also I think you must check all the voltage levels with the Amiga on. A digital multimeter is a very cheap acquisition and will ease the problem debugging. Buy one of those less-than-£5 chinese cr4p, it will be enough for your immediate needs.
 
Back
Top Bottom