You are using an out of date browser. It may not display this or other websites correctly.
You should upgrade or use an alternative browser.
You should upgrade or use an alternative browser.
Justin's A1200 tower project
- Thread starter Justin
- Start date
- Replies 95
- Views 12659
Justin
Active member
@ johnim.
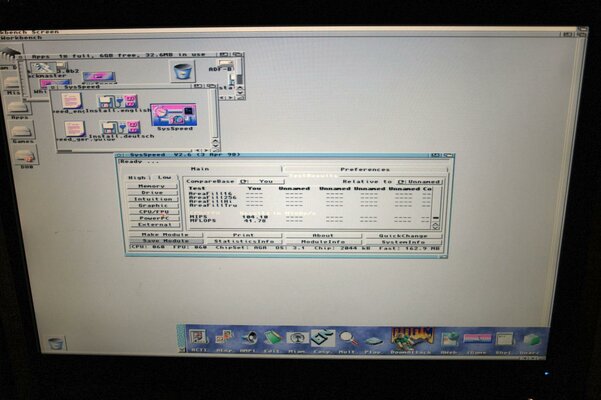
just going to run 3.9, i quite enjoy the setting up")
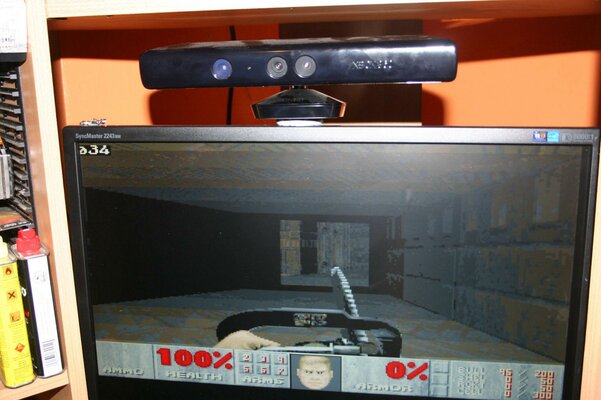
running doom @ 320/240 as i'm still running the 040 at the moment (waiting for some parts from Keith)
and voodoo/radeon are now duly swapped
@Fitzsteve
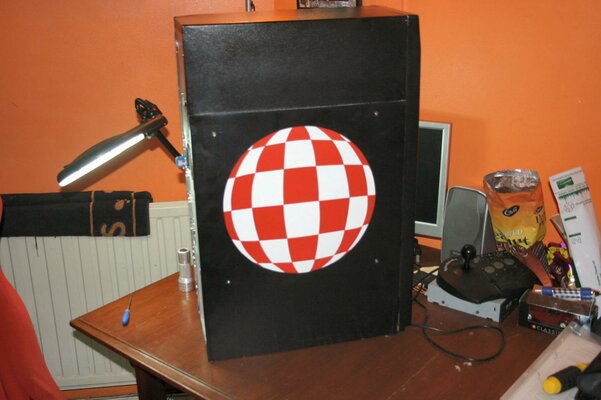
i actually really like that picture with the case lit up
just going to run 3.9, i quite enjoy the setting up
running doom @ 320/240 as i'm still running the 040 at the moment (waiting for some parts from Keith)
and voodoo/radeon are now duly swapped
@Fitzsteve
i actually really like that picture with the case lit up
thanksand voodoo/radeon are now duly swapped
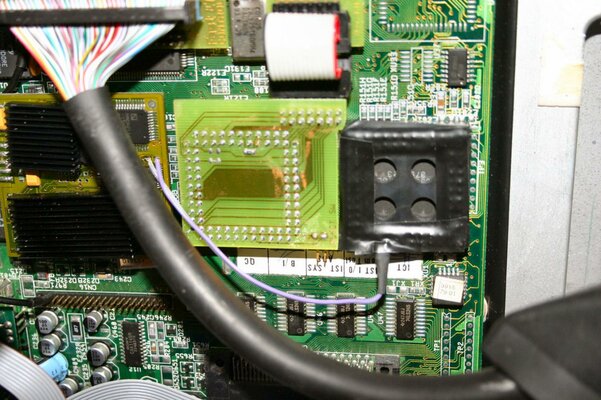
you played with the sound yet
i first used a jack to 2 phonos for paula passthrough
then used an old cdrom audio lead on aux on the card to 2 phono plugs
Justin
Active member
exactly how did you link up the sound m8? 3.5mm jack to 2 phonos? so from the sound card to where? then the 2 phonos from the motherboard go to where?
exactly how did you link up the sound m8? 3.5mm jack to 2 phonos? so from the sound card to where? then the 2 phonos from the motherboard go to where?
They would go to the Sound Cards 'Line in' socket and you would you use the software mixer to adjust the levels.
3.5mm jack to 2 phonos?
motherboard out put to the blue input on the card
or
the black conectors on the sb128
 your cards
with a audio cable to a phono connector socket
then use a phono to phono outside
from the above connector to motherboard phonos
motherboard out put to the blue input on the card
or
the black conectors on the sb128
your cardswith a audio cable to a phono connector socket
then use a phono to phono outside
from the above connector to motherboard phonos
Justin
Active member
i need to make a cable then?
Looking really good - you just need a PPC card now ...sorry could resist 
Top work
...sorry could resist Top work
Justin
Active member
This is a whole load of awesomeness just longing for a trip to Blackpool!
it ain't going to Blackpool m8
---------- Post added at 23:28 ---------- Previous post was at 23:27 ----------
Looking really good - you just need a PPC card now
Top work
lol and that doesn't even deserve a comment
")
Justin
Active member
It's ok Justin we're all going to chip in and get you an OS4 Netbook for Christmas
lol. make sure you keep the receipt
Justin
Active member
hi all,
right then, it's still not finished but with thanks to Amigafanboi for the 64 mb of ram and Stan for the 80mhz crystal and Hikey for doing the 1240 to 1260 upgrade i finally have some real speed (doom occasionally hits 40fps lol)
also a thank you to the community, thank you all so much for your help and input with this A1200, i couldn't have done it without you guys:grouphug::bounceBoingBall::respect::thanks::yourock:
right then, it's still not finished but with thanks to Amigafanboi for the 64 mb of ram and Stan for the 80mhz crystal and Hikey for doing the 1240 to 1260 upgrade i finally have some real speed
(doom occasionally hits 40fps lol)also a thank you to the community, thank you all so much for your help and input with this A1200, i couldn't have done it without you guys:grouphug::bounceBoingBall::respect::thanks::yourock:
Attachments
Justin
Active member
Nice work mate, now time to pimp out that workbench a bit
pimp out with what? you mean spoil my happy tranquil world of grey?

Nice work mate, now time to pimp out that workbench a bit
pimp out with what? you mean spoil my happy tranquil world of grey?
He he, give it a try mate, you might actually like it!
Here's some inspiration for ya:
http://eab.abime.net/showthread.php?t=3013

Justin
Active member
well finally another update
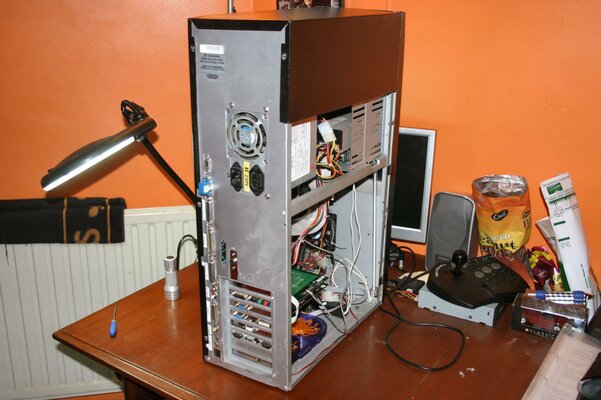
1st off my fast ATA wouldn't sit in place with my SD/FF so a wee bit of filing and now they sit together beautifully
next up, i hated the way i had to remove the whole outer case each time i wanted to get inside my Amiga (fnar), so some measuring and cutting later i now have a removable side panel, much better
and look, no dongles at the back, everything just plugs straight into the appropriate port (I hate dongles hanging out of the back lol)
see Mike, I do have a real Amiga!!
Attachments
Ed.D
Active member
Nice one Justin, you could add a couple of those special hinges they have on aircraft eletronics bays
Similar threads
- Replies
- 11
- Views
- 3K
- Replies
- 6
- Views
- 1K